This can be fairly simple when it’s a new, blank document, but it becomes more complicated when your document already has content in it. One situation that you may encounter is when you need to add an entirely new page in the middle of your existing document. Our tutorial below will show you how to add a page to a Google document using the page break tool.
How to Add a New Page to Google Docs
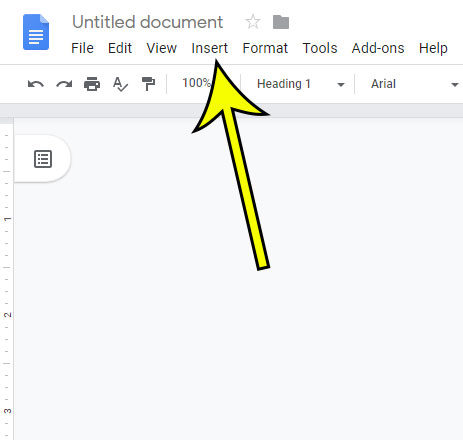
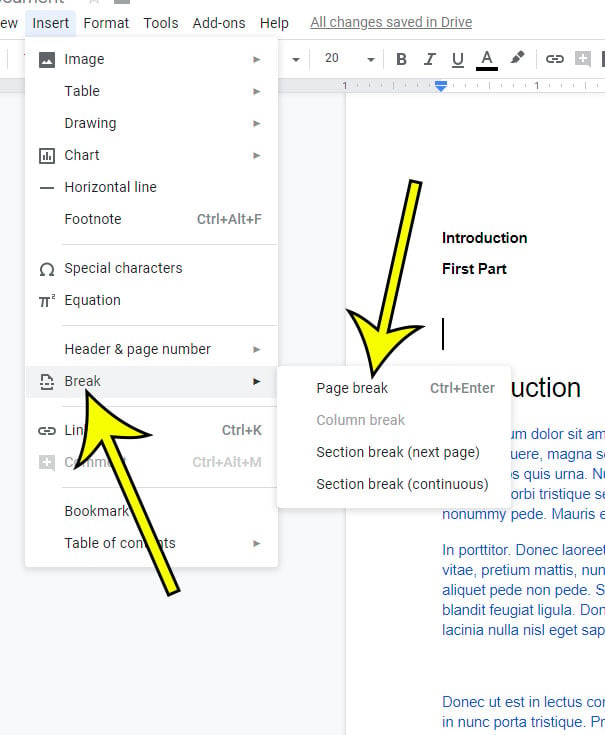
Our article continues below with additional information on adding a new page in Google Docs, including pictures of these steps. Editing a document can include a lot of different changes and adjustments. Sometimes these changes are small, but occasionally you might need to make a larger edit. For example, you might need to know how to add a new page to Google Docs if you’ve forgotten a section or want to add additional information. Customizing a Google Docs document from your Google Drive is a great alternative to word processor programs like Microsoft Word. You can perform many of the same functions that are found in Microsoft Word, such as adding page numbers or changing margins, although their location in Google Drive will typically require a little bit of learning if you aren’t used to the application. One thing that you may want to accomplish is the addition of a new page. This could be simply moving to the second page from a title page without the need to press the Enter key a bunch of times, or if you’re on the first page of your document and want to move to the second one without waiting for Google Docs to do it automatically. Our tutorial below is going to show you how to add a new page in Google Docs by inserting a page break.
How to Create a New Page in Google Docs Using a Page Break (Guide with Pictures)
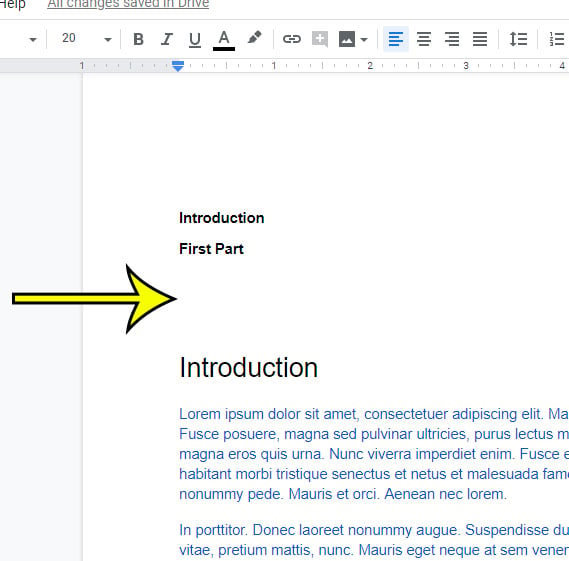
The steps in this article were performed in the Google Chrome desktop Web browser. These steps will also work in other desktop Web browsers like Firefox or Edge. Now that you know how to add a page on Google Docs you will be able to better customize the layout of your document without needing to do a lot of dragging and dropping or copying and pasting if you need to move your content around. I am placing it after my table of contents in the image above. Our tutorial continues below with more information on using the page break feature in Google Docs.
More Tips on Adding a New Page in Google Docs
You can perform many actions in Google Docs using the mobile apps that are available for Android and iOS. If you elect to add a new page to your document and you already have page numbers, that numbering will update automatically to adjust for the inclusion of the new page, assuming that you have used the built-in page numbering function of Google Docs. If you double-click in the header section of one of the pages in the document you will be able to add or edit information in the header. If you like keyboard shortcuts, then you will be happy to know that there is one for this. Simply click where you want to add the new page, then press Ctrl + Enter on your keyboard. If you’re looking for a simple way to create a table of contents like the one I have in the guide above simply apply Heading formatting to different sections of your Google document, then use the Table of contents option at the bottom of the Insert menu. Google Docs will then add the table of contents to the document automatically. If your document also needs page numbers, you can apply them by going to Insert > Header & page number and then choosing one of the page numbers options. Expanding further on the page numbers options in Google Docs, you have the option to add them to several different locations, such as the top of the page, at the top right of the page, or at the bottom right of the page. You can even choose to have a different first page for your page numbers if you wish.
How to Add Page Breaks in the Google Docs Mobile App
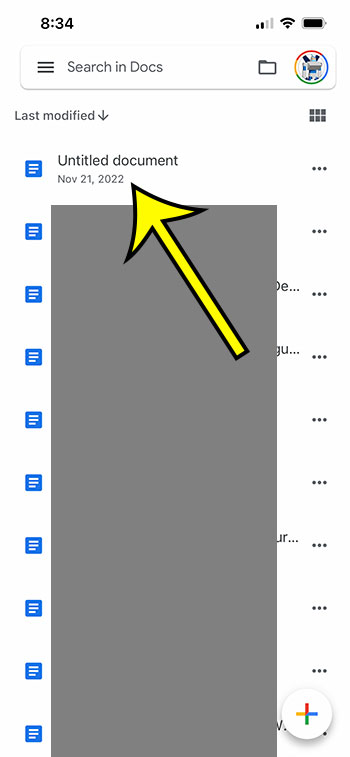
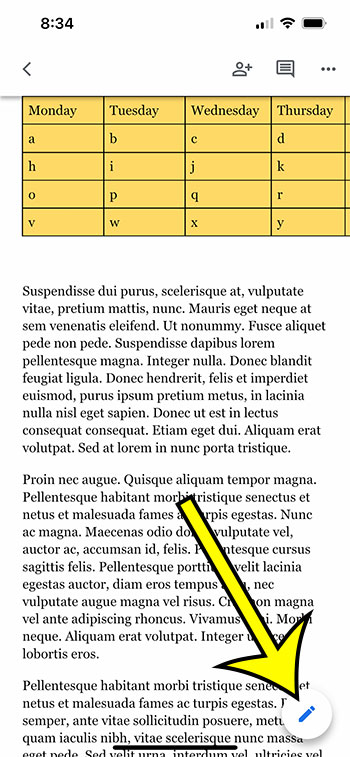
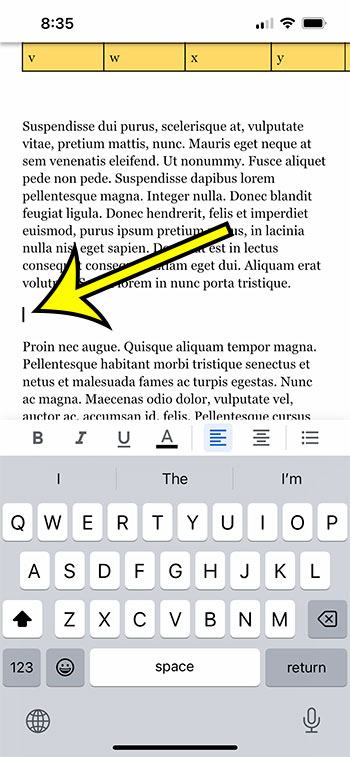
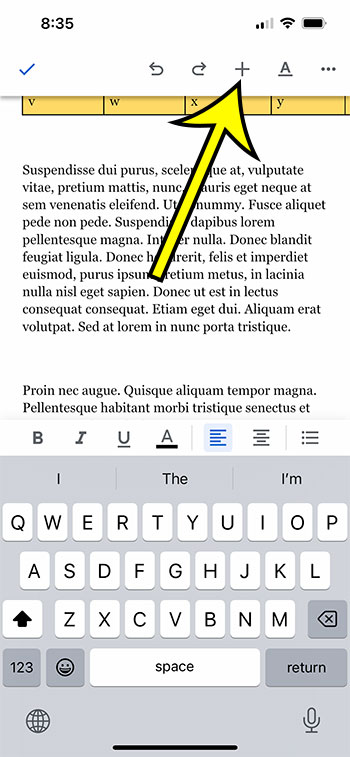
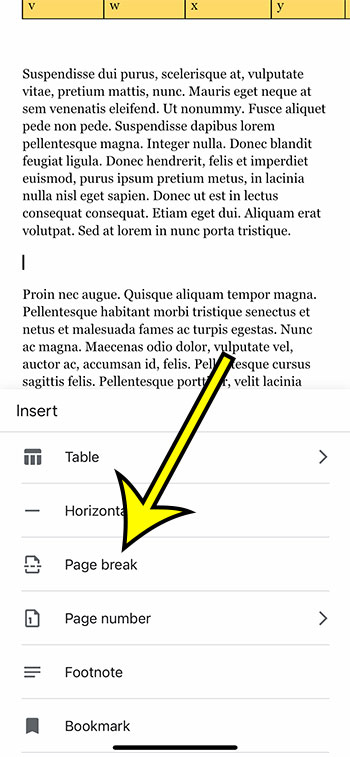
While it’s fairly easy to add new blank pages to your document by expanding the Insert menu then choosing the page break option from the drop down menu, it is a little different on a mobile device. To add a blank page in the Google Docs app you need to open the document from within the app, or tap the plus icon to create a new document. You can then tap the little pencil icon at the bottom right corner of the screen, then either tap in a spot on the current page where you want to add your new pages, or scroll through the document and tap on the spot on one of the other pages where you want the new page. Note that you need to tap at the spot on the page to make the cursor appear. You can then tap the gray plus icon among the horizontal menu of controls at the top of the screen. As you scroll through this drop down list of formatting options, you should see a “Page break” option appear at the bottom left corner of the screen. You can then tap that option to insert a page break. The steps to add a page on Google Docs mobile are shown below with images.
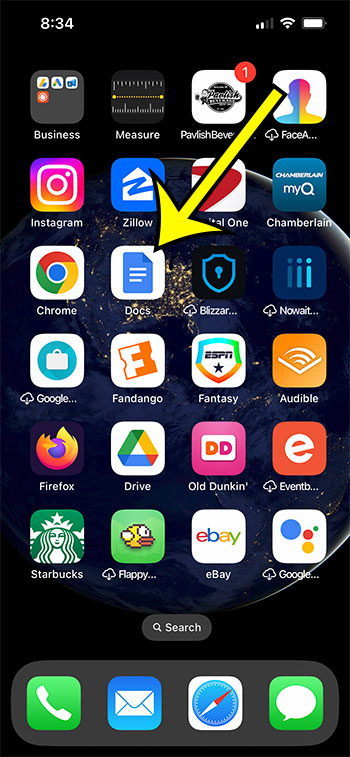
Step 1: Open the Google Docs app.
Step 2: Open the document, or create a new one.
Step 3: Touch the pencil icon.
Step 4: Tap in the document where you want the new page.
Step 5: Touch the plus icon.
Step 6: Scroll down and choose the Page break option.
I used the iPhone Google Docs app for the steps above, but they will also work in the Android app version as well. If you like using the Google Docs app on your phone, you should consider getting the app for Google Sheets and Google Slides as well. Google Sheets iPhone app download link Google Slides iPhone app download link They are both equally as good as Docs. For additional information on using page numbers in Google Docs, check out this article that will walk you through the process of including your last name and page number on each page, which is often a requirement at some schools and organizations.
You can remove a page break by clicking at the start of the line that follows the page break, then pressing the Backspace key on your keyboard to remove it. If you want to add a break to a column you will need to click inside that column, select Insert from the menu bar at the top of the window, choose Break, then click the Column Break option. But if you are writing an article for a publication or creating a newsletter, you might need a second or even a third column. You can change the number of columns in a document by selecting the Format tab at the top of the window, choosing the Columns option, then clicking the picture that shows the desired number of columns. You can then see the options available on that menu, including things like: – Page orientation– Document margins– Page color– Paper size He specializes in writing content about iPhones, Android devices, Microsoft Office, and many other popular applications and devices. Read his full bio here.
