Our article continues below with additional information and pictures for these steps. Microsoft Powerpoint presentations are going to have a lot of pre-defined formatting based on the theme or template that you are using. Often this formatting is well-suited for making everything in the presentation look good and coherent, but you may encounter some things that you want to change. One item you may not like is the amount of space that exists between the lines of a bulleted list. Our guide below will show you how to change Powerpoint spacing between bullets.
How to Increase or Decrease the Amount of Spacing Between Bullets in a Powerpoint List
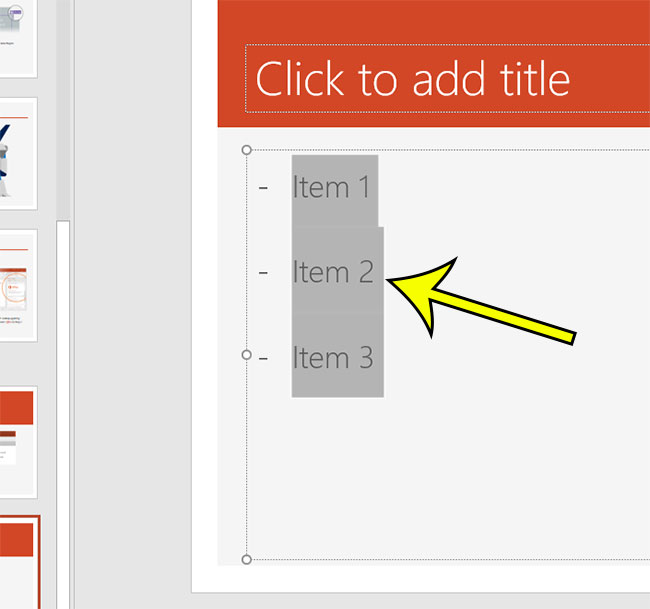
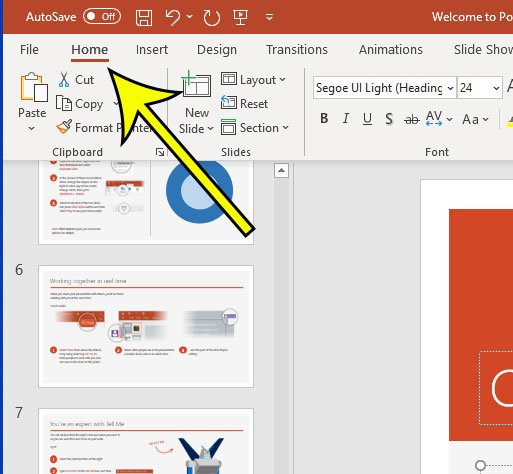
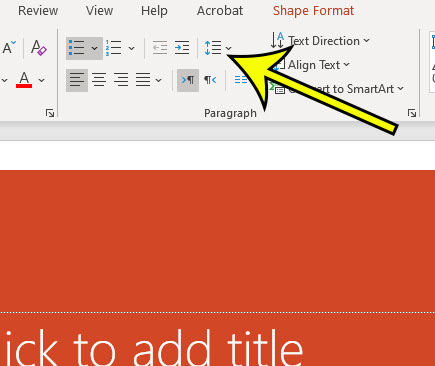
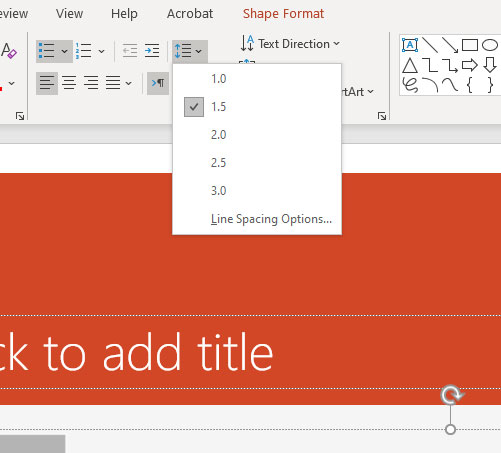
The steps in this article were performed in the Microsoft Powerpoint for Office 365 version of the application. Step 1: Open your Powerpoint file. Step 2: Select the slide with the bulleted list to modify. Step 3: Use your mouse to select the entire list. Step 4: Click the Home tab at the top-left of the window. Step 5: Select the Line Spacing button in the Paragraph section of the ribbon. Step 6: Choose the desired amount of space to have between your bullets. Note that you can choose the Line Spacing Options item from this menu if you want to use a line spacing amount other than the options listed. Changing the spacing between bullets in this manner will only affect the selected list. Other bulleted lists in your presentation will not be affected. Find out how to end with the last slide instead of a black slide in Powerpoint when your presentation is over. He specializes in writing content about iPhones, Android devices, Microsoft Office, and many other popular applications and devices. Read his full bio here.