Some schools and institutions even have strict guidelines concerning the font that you should use, which can be a problem if you have an entire completed document that is in the wrong font. Fortunately Word 2013 has some tools that allow you to quickly select your entire document, then apply a formatting change to all of that selected text.
How to Select An Entire Document in Word and Change the Font
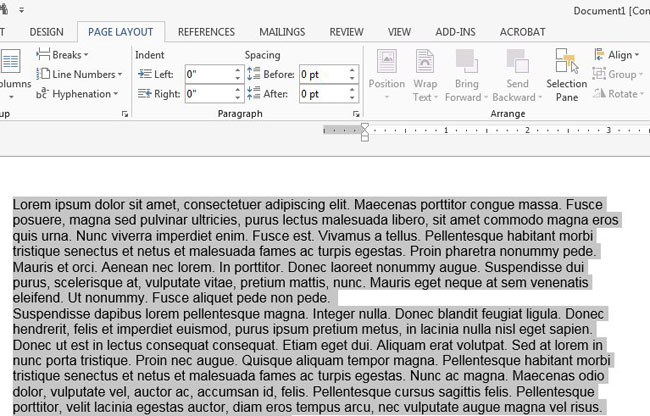
The steps below are going to show you a quick way to select your entire document, then to change all of the fonts in that document to the one that you will be selecting. Step 1: Open the document that you wish to modify. Step 2: Click somewhere inside the body of the document, then press Ctrl + A on your keyboard to select the entire thing.
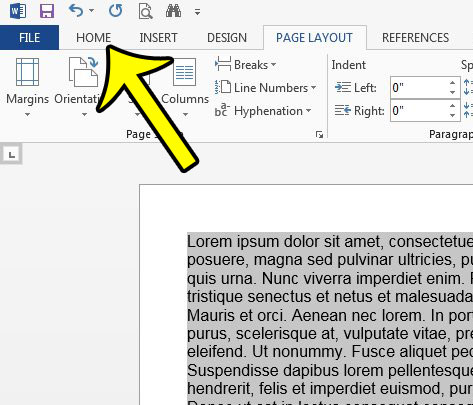
Step 2: Click the Home tab at the top of the window.
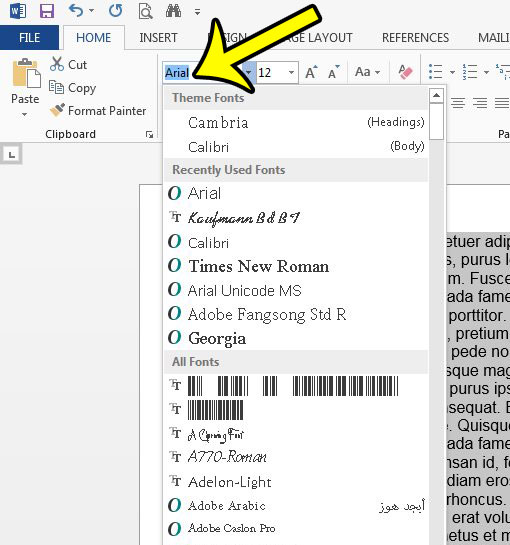
Step 3: Click the font drop-down menu in the Font section of the ribbon, then click the font style that you wish to use.
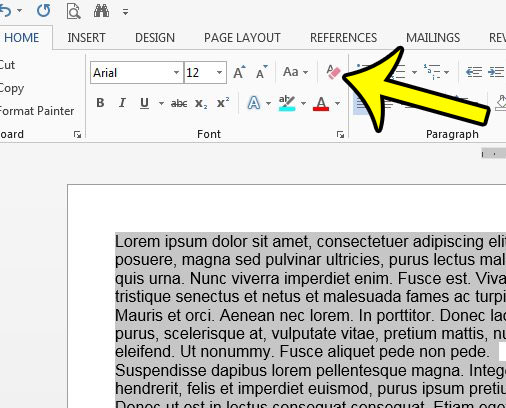
Note that this is only going to change the font. It will not affect other font styling choices, such as color, size, bold, italics, etc. If you wish to make all of those settings the same as well, then it might be click the Clear All Formatting button in the Font section of the ribbon before you change the font.
If there are other formatting instances in your Word document that you would like to remove all at once, then doing so after selecting the entire document can be very convenient. For example, if there is a lot of shading behind your words, you can remove that all at once. This is also beneficial if you have copied and pasted information from several different sources that all have different formatting. He specializes in writing content about iPhones, Android devices, Microsoft Office, and many other popular applications and devices. Read his full bio here.


