Change Account Name and Rename User Account Folder in Windows 10
Your username is part of your identity used to sign in to Windows 10. Mistakes can sometimes happen when creating a username. There are several ways you can fix that. Currently, the Settings app doesn’t offer an option to edit usernames. There are two ways to work around this limitation.
Method 1: Classic Control Panel
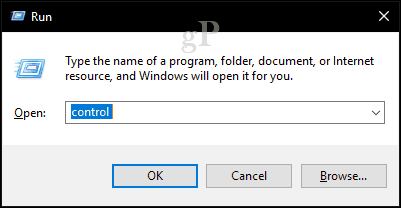
Find and open the classic Control Panel. One way to do this is to press Windows + R and then type Control, then hit Enter.
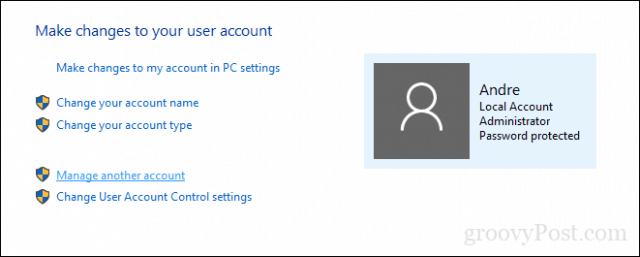
Open the User Accounts control panel, then click Manage another account.
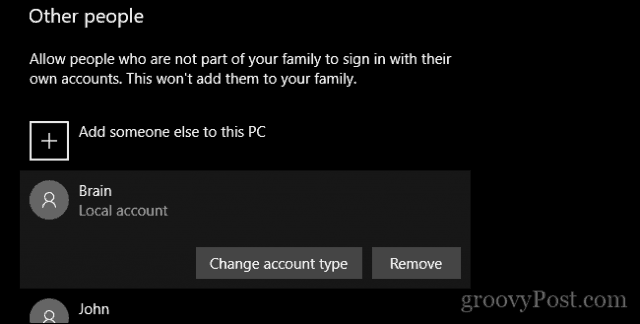
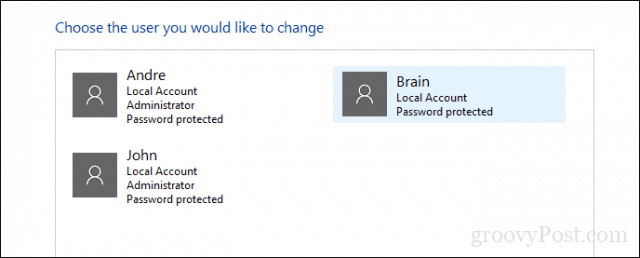
Click the account you want to edit.
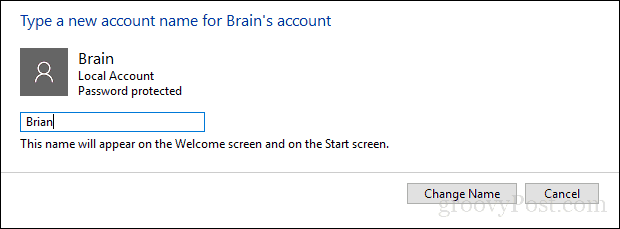
Click Change the account name.
Enter the correct username for the account, then click Change Name.
Method 2: User Accounts Advanced Control Panel
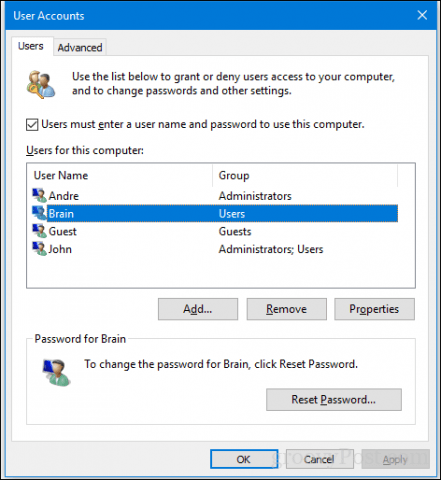
There is another way you can do it. Press Windows key + R, type: netplwiz or control userpasswords2, then hit Enter. Select the account, then click Properties.
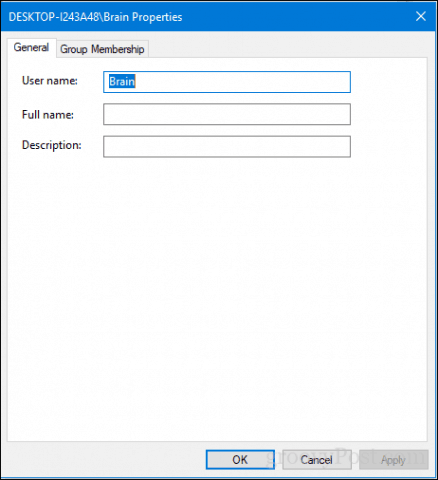
Select the General tab, then enter the user name you want to use. Click Apply then OK, click Apply then OK again to confirm the change.
What about Your User Folder Name?
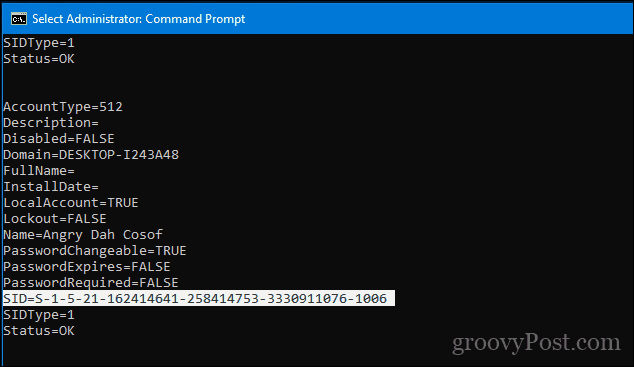
Changing the username is pretty basic, but this change is not reflected in the User folder located within the C: drive. Renaming it can be risky—sometimes sticking with it or just creating a new user account then copying your files to the new account is a better option. Yes, it’s annoying, but it’s better than ending up with a corrupt user profile. If you must change it to hush your OCD, there is an advanced option available. This involves using the command line to access the security identifier (SID) then making the necessary change in the Registry. Before you go any further, enable then log into the built-in Administrator account. As a precaution, create a system restore point in advance. To access all the information within the SID requires using the Windows Management Instrumentation Command-line to reveal the value needed to find and change it in the Registry. Open the command prompt with Administrator privileges, type: wmic useraccount list full, then hit Enter. Scroll down, then take note of the SID values for the account you want to change.
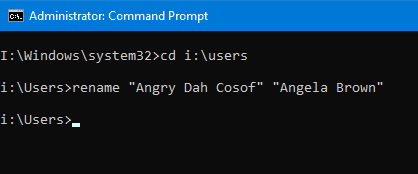
The next step is to rename the account. Doing this from the command line is just as easy. For example, rename “Angry Dah Cosof” “Angela Brown.”
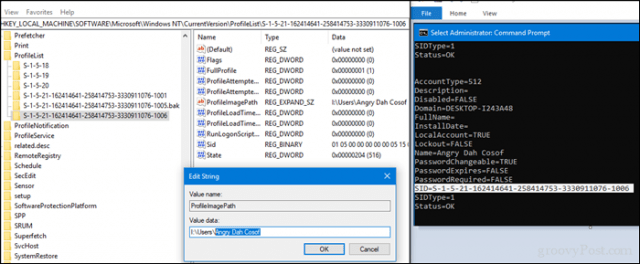
Open Start, type: regedit Right-click Regedit. Click Run as administrator. Navigate to: Remember that SID value we accessed earlier? Now is the time to reference it.
Once you find it, select it, then double-click the value ProfileImagePath. You will see the old name we had earlier is still there. Change it to the new name you want to use. There you have it, the name you actually intended. Mistakes like this can happen, but there is always a way to fix them. You might try something like converting your account back to a LOCAL account – then converting it back to a Microsoft account with your email address. Use the SEARCH feature here o groovyPost for help with doing this. For example, here’s one that will help. https://www.groovypost.com/howto/create-local-account-windows-10/


![]()
