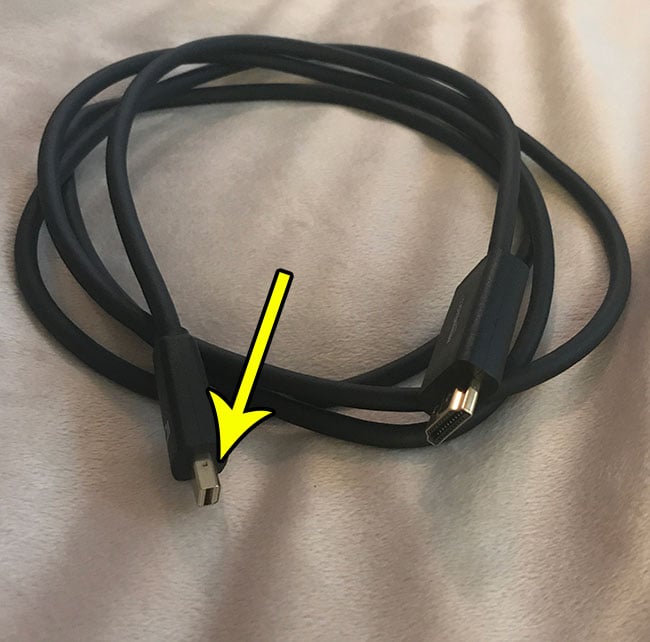
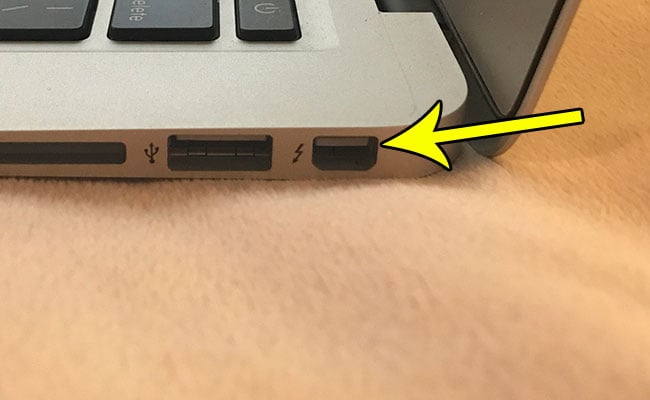
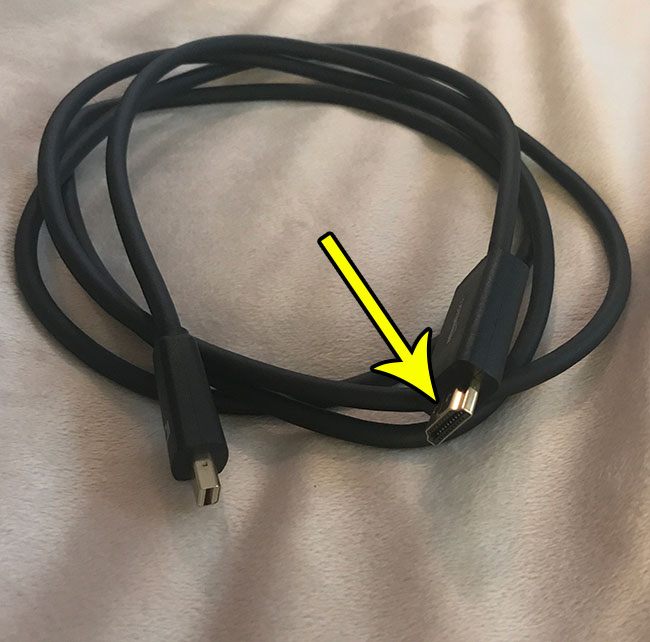
But you might have noticed that your MacBook Air doesn’t have an HDMI port, which makes this type of connection a little trickier. Fortunately your MacBook Air does have a MiniDisplayPort, or Thunderbolt port. This is a different type of connection for watching video on another display, and you can get a MiniDisplayPort to HDMI cable that lets you make the connection from the laptop to your TV. Our tutorial below will show you which cable to get, then walk you through the process of making the connection work.
How to View Content from Your MacBook Air on an HDTV With a MiniDisplayPort to HDMI Cable
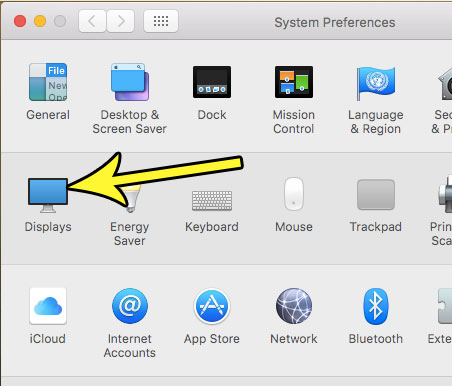
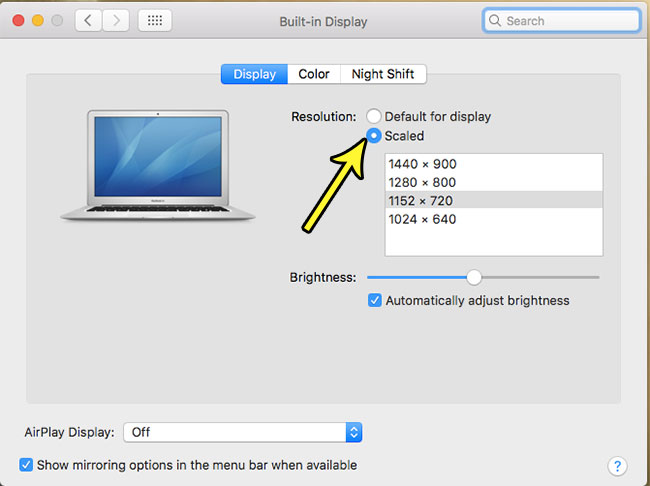
Step 1: Connect the MiniDisplay Port end of the cable to the MiniDisplayPort (Thunderbolt) on your MacBook Air. Step 2: Connect the HDMI end of the cable to an open HDMI port on your TV. Step 3: Switch the input or source on your TV to the HDMI port to which the cable is currently connected. It’s possible at this point that you aren’t able to see the content mirrored on your television. If so, then you will need to change a display setting on your MacBook Air. Step 1: Open the System Preferences app. Step 2: Select the Displays option. Step 3: Choose the Scaled button to the right of the Resolution option, then select from one of the options listed. Note that you might need to try a couple of different options before you get one that works with your TV. Are you often frustrated by the way that your MacBook Air’s touchpad scrolls? Find out how to change the scrolling behavior so that you can reverse the scrolling and see if that is better for you. He specializes in writing content about iPhones, Android devices, Microsoft Office, and many other popular applications and devices. Read his full bio here.
