Create a Quiz in Microsoft Forms
To get started, head to Microsoft Forms and sign in. Then, select New Quiz on the main page. It’s important to select this option rather than New Form because the quiz has additional settings you’ll need. Give your quiz a title and optionally a description.
You can then start adding your questions and answers. Let’s add a few so you can see how the quiz setup works.
Add Quiz Questions and Answers
For each question, click Add new and then choose the type of question you want to add.
Since this is a quiz, you’ll likely want to make each question Required and optionally assign a Point value. Both options display at the bottom of each question type.
Text Question
You’ll likely want to start with a Text type question for the respondent to enter their name. You can do a single question for their full name or two separate ones for first and last name.
If you use the Text question type for other questions in your quiz, you have the option to enable Long answer if you want to allow more text.
Choice Question
A popular quiz-type question is a Choice (multiple choice). For this and the remaining questions, you’ll want to add the correct answer(s). Type the question, add the possible answers, and click Add option to include more if necessary. Place your cursor over the correct answer and you’ll see options display on the right side. Click the checkmark to denote the correct answer. Then, optionally add the Point value on the bottom left.
You may also use the Choice question type to allow more than one possible answer. To do this, add the question and answer options. Then, turn on the toggle for Multiple answers at the bottom. Use the checkmarks to choose each correct answer.
Adjust the Quiz Settings
Once you finish creating your quiz, you have the option to allow the respondents to see the correct answers after they submit it. Click More Form Settings (three dots) on the top right and select Settings. Then, enable the toggle in the sidebar for Show results automatically.
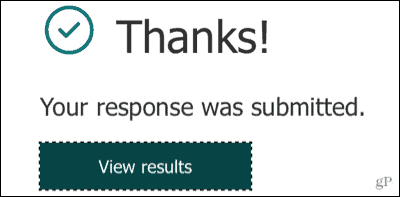
When your quiz takers finish and hit Submit, they have the option to View results.
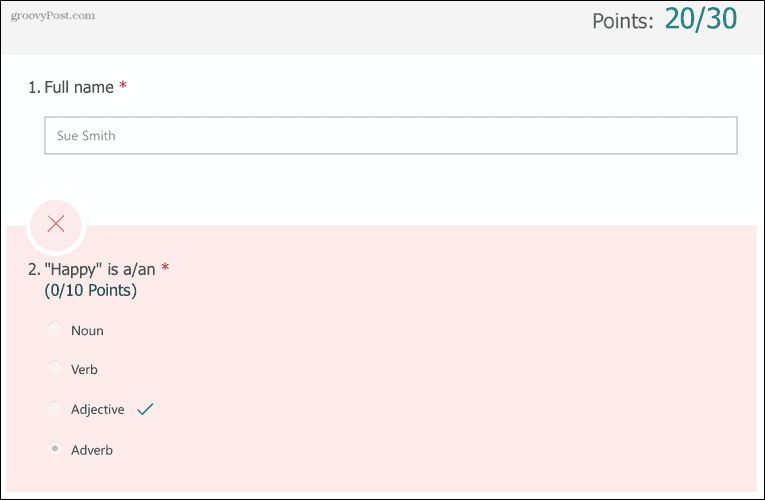
They will then see the points they received (if you used the point value options) and their incorrect answers clearly marked.
If you have an educational (EDU) account with Microsoft, you can also adjust settings for who can fill out the quiz, limit the number of responses, and automatically record the respondents’ names. Visit the Microsoft Support page to view these additional options.
View Quiz Responses
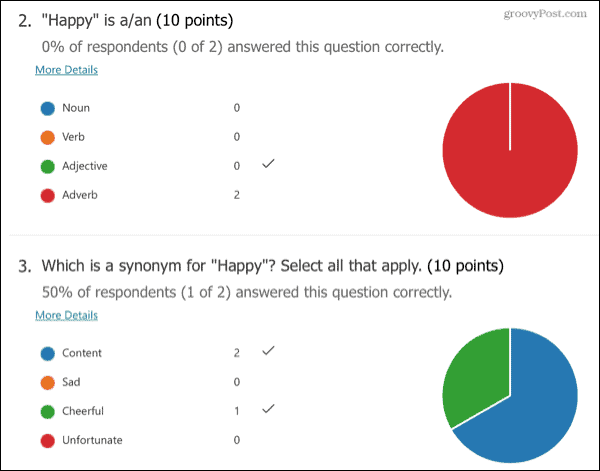
Microsoft Forms does a good job of visually displaying the responses to your quiz. Click the Responses tab at the top of the quiz page. You’ll see the number of answers chosen per question, a graph or chart for a quick view, and a summary including the percentage of correct answers.
Easy Quiz Creation With Microsoft Forms
It’s easy to create a quiz in Microsoft Forms. And, you can set up your quiz in a matter of minutes, whether for education or business. If you want to look at other options, you can also create a quiz with Google Forms. Comment Name * Email *
Δ Save my name and email and send me emails as new comments are made to this post.
![]()


