It is a very common practice to re-use spreadsheets for new purposes. Whether it is a report that you redo on a weekly or monthly basis, or a spreadsheet that was sent to you from another person, it can be a real time saver to simply edit some information instead of recreating the entire file from scratch. But a spreadsheet can contain some information that is specific to a particular instance of a file, and that information is often contained within the header of the file. Adding information to a header makes a printed copy of the spreadsheet much easier to identify, but subsequent uses of that file for other purposes can mean that the information contained in the header is no longer accurate. Our tutorial below will show you how to delete the information in your header completely so that you can print the file without that information, or so that you can add new information to the header.
How to Remove a Header in Excel 2013
Our article continues below with additional information on deleting the header in Microsoft Excel, including pictures of these steps. if you need to get rid of an entire worksheet from your Excel file, then our tutorial on how to delete an Excel worksheet will walk you through the process.
Removing a Header from an Excel 2013 Spreadsheet (Guide with Pictures)
The steps in this article will show you how to remove existing text from the header section of your Excel 2013 spreadsheet. After following the steps below, be sure to save the spreadsheet so that the header information remains gone the next time you open the file.
Step 1: Open your spreadsheet in Excel 2013.
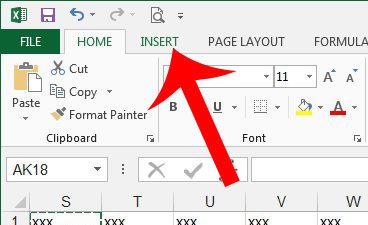
Step 2: Click the Insert tab at the top of the window.
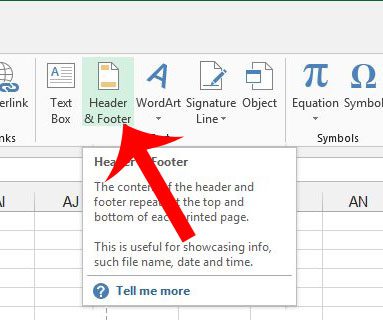
Step 3: Click the Header & Footer button in the Text section of the navigational ribbon.
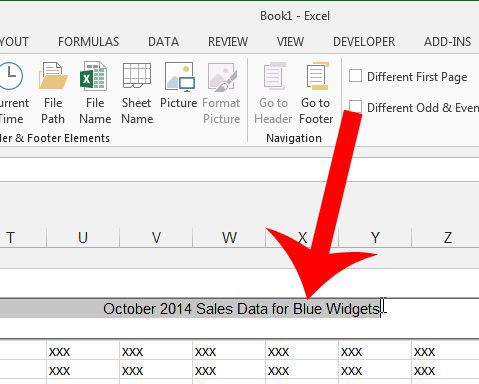
Step 4: Click once on the header text to select all of it, then press the Backspace key on your keyboard to delete it.
Note that if your header information is contained in multiple sections of the header, then you may need to repeat this step for each section of the header.
How to Reduce Top Margin Size in Excel
If you want to reduce the size of the top margin where the header had previously been displayed, then you can click on the bottom section of the top margin on the ruler at the left side of the screen and drag it up. To learn more about adjusting page margins, check out this tutorial on Microsoft’s site. For a helpful change that can improve the readability of your spreadsheet, consider adding the top row to every page of your document. This can make it much easier for readers to know which column a cell belongs to.
Additional Sources
After receiving his Bachelor’s and Master’s degrees in Computer Science he spent several years working in IT management for small businesses. However, he now works full time writing content online and creating websites. His main writing topics include iPhones, Microsoft Office, Google Apps, Android, and Photoshop, but he has also written about many other tech topics as well. Read his full bio here.