Additionally, there is no clear means for removing the text box from the file, which can be a source of frustration. Fortunately you are able to delete a text box in Publisher 2013 by selecting the text box as an object, then pressing a key on your keyboard. Our tutorial below will walk you through the process.
How to Remove a Text Box from a Publisher 2013 Document
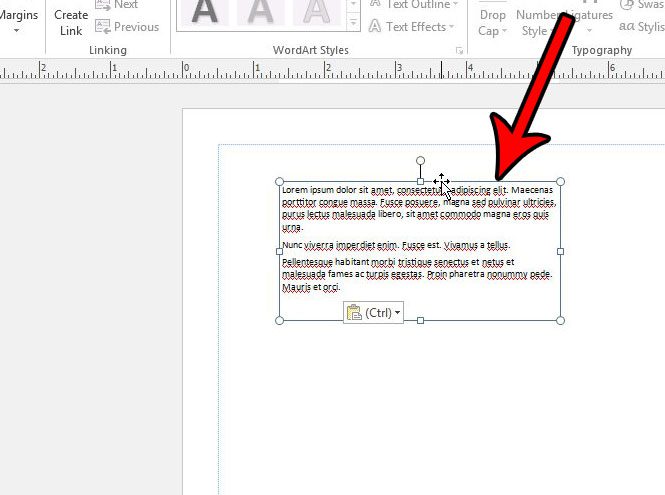
The steps in this article were performed in Microsoft Publisher 2013. Once you complete these steps you will have removed an existing text box from your document. You will not be able to get that text box back after completing these actions, so make sure that you do not need it. Step 1: Open your document in Publisher 2013. Step 2: Click inside the text box so that you can see its borders, then click on one of the text box borders to select the entire text box object.
Step 3: Press the Backspace or Delete key on your keyboard to delete the text box. If this doesn’t delete the text box, then your cursor is probably inside the text box, rather than having the text box selected. Try clicking on the text box border again, then pressing the Backspace or Delete key. Do you need to add a new text box to your Publisher file, but aren’t sure how? Find out how to add a new text box in Publisher 2013 so that you can add the necessary words and numbers to your project. After receiving his Bachelor’s and Master’s degrees in Computer Science he spent several years working in IT management for small businesses. However, he now works full time writing content online and creating websites. His main writing topics include iPhones, Microsoft Office, Google Apps, Android, and Photoshop, but he has also written about many other tech topics as well. Read his full bio here.
You may opt out at any time. Read our Privacy Policy