One good way to manage this situation is with restrictions. You can use this option to do a lot o fo things, including disable camera on iPad devices. Our article will show you where to find and turn on your iPad’s restrictions feature, then turn off the camera so that it can’t be used.
How to Restrict the Camera on the iPad 2
Our guide continues below with additional information on how to disable camera on iPad 2, including pictures of these steps. Many of the apps on your iPad cannot be removed. These are the default apps on the device, and they will not have an x on them that allows them to be uninstalled in the same way as an app that you install through the App Store. But certain apps can be disabled on an iPad, including the Camera. Our tutorial below will show you how to use a feature that can block the functionality of some iPad features and can completely disable others. Find out how to turn off AirPod notifications if you would like to change the way that your iPhone notifications work when you have your AirPods connected.
How to Disable Camera Usage on an iPad (Guide with Pictures)
The steps in this article were performed on an iPad 2, in iOS 9.3. These steps will work for other iPad models as well. This method does not remove the Camera or its functionality from the iPad, nor does it uninstall the Camera app. We will be using a feature on the iPad called “Restrictions” which allows you to block certain functionality on the iPad. You will need to set up a Restrictions passcode during this process. The passcode can be different than the one that you currently use to unlock your iPad, but be aware that you must remember this password if you want to make any changes to the Restrictions settings in the future.
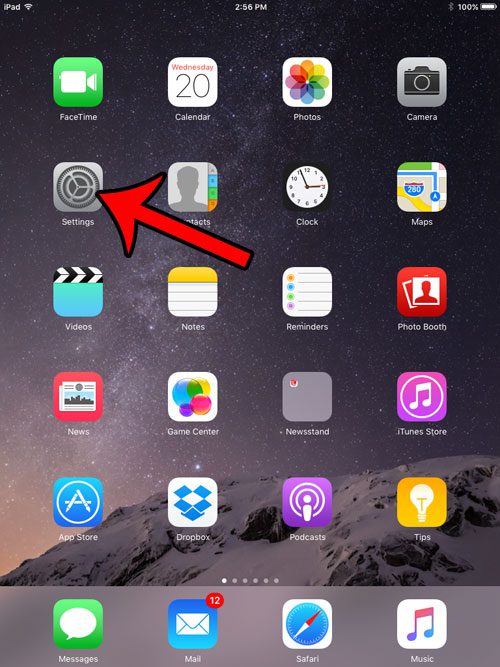
Step 1: Open the iPad Settings menu.
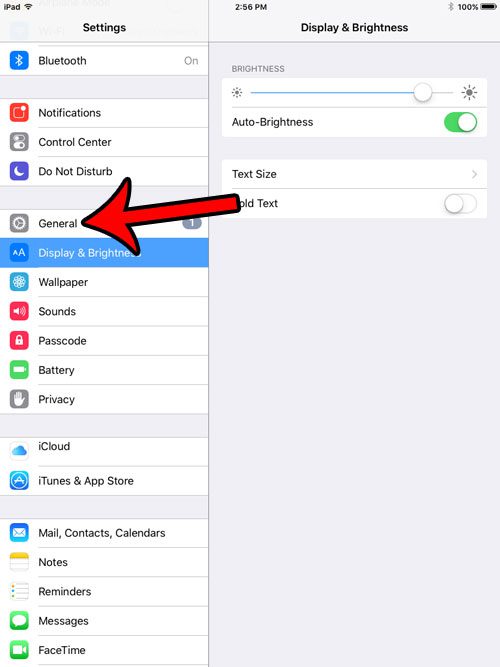
Step 2: Select General in the column at the left side of the screen.
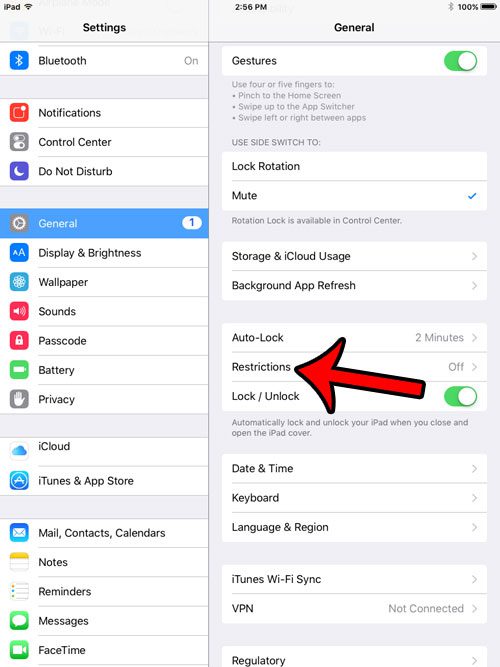
Step 3: Select the Restrictions option in the column at the right side of the screen.
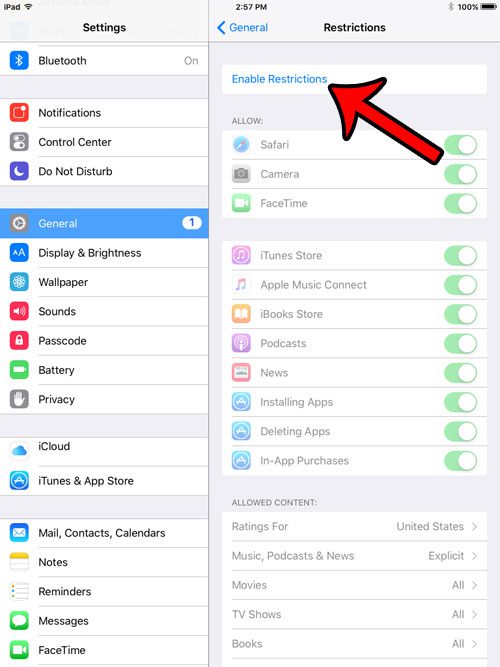
Step 4: Tap the blue Enable Restrictions button at the top of the right column.
Step 5: Create a passcode for the Restrictions menu.
Step 6: Enter the Restrictions passcode again to confirm it.
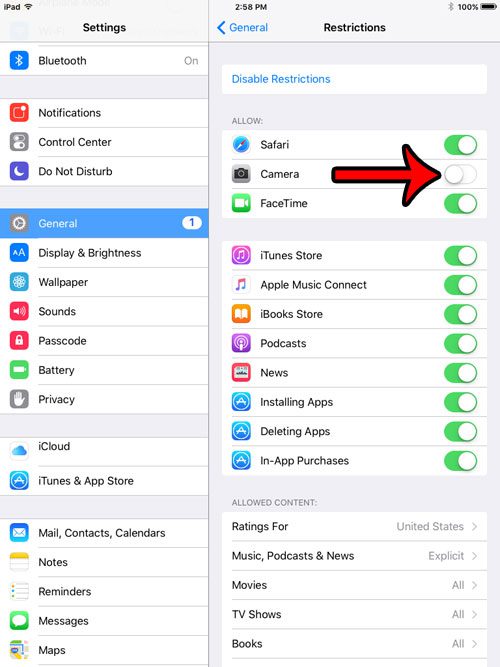
Step 7: Tap the button to the right of Camera to disable the camera on your iPad.
It is disabled when there is no green shading around the button. I have restricted the iPad camera in the picture below. Now that you know how to disable camera on iPad 2 you will be able to enable or disable this setting as needed based on whether or not someone on the iPad needs the camera. Note that this will remove the Camera app icon from the Home screen until you choose to re-enable the feature. Additionally, any apps that require or can use the Camera will be unable to do so. Are you getting rid of an iPad, or are you troubleshooting a problem? You can read this article – https://www.solveyourtech.com/reset-ipad-factory-settings/ – to learn how to reset your iPad to factory settings, which will uninstall your apps, remove your data, and return the iPad to how it was when it was first purchased.
Additional Sources
After receiving his Bachelor’s and Master’s degrees in Computer Science he spent several years working in IT management for small businesses. However, he now works full time writing content online and creating websites. His main writing topics include iPhones, Microsoft Office, Google Apps, Android, and Photoshop, but he has also written about many other tech topics as well. Read his full bio here.
You may opt out at any time. Read our Privacy Policy