This is ideal for displaying a slideshow at a trade show or convention, where visitors might be walking up to your booth at any time, and where you might not always be present. We will show you below where to find the kiosk mode setting for your Powerpoint 2013 slideshow so that you can give it a try.
How to Put a Powerpoint 2013 Slideshow into Kiosk Mode
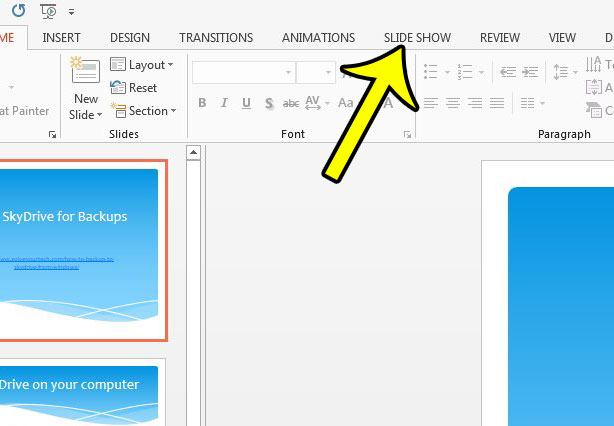
The following steps are going to show you how to change a setting for your Powerpoint presentation that allows that presentation to be put into “Kiosk” mode. Step 1: Open your slideshow in Powerpoint 2013. Step 2: Click the Slide Show tab at the top of the window.
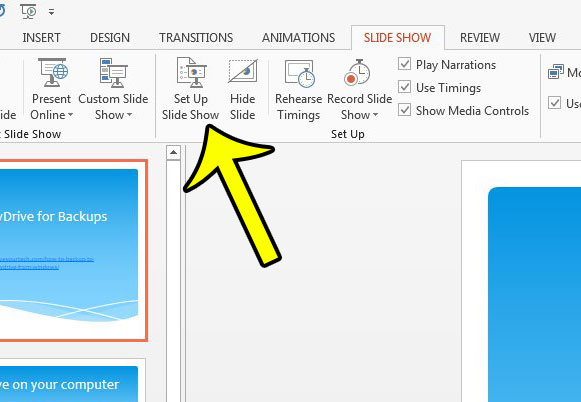
Step 3: Click the Set Up Slide Show button in the Set Up section of the ribbon.
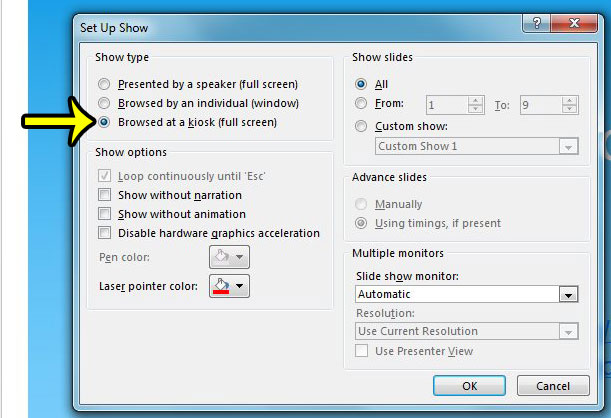
Step 4: Click the Browsed at a kiosk option in the Show type section of the window. You can then click the OK button at the bottom of the window to apply your changes.
Note that this is going to automatically enable the Loop continuously until “Esc” option. You can then start your slideshow in kiosk mode by clicking one of the options in the Start Slide Show section of the ribbon. You can exit the slideshow at any time by pressing the Esc key on the keyboard. Are the notes in your slideshow an important part of the presentation? Learn how to print Powerpoint notes along with your slideshow for helpful handouts. He specializes in writing content about iPhones, Android devices, Microsoft Office, and many other popular applications and devices. Read his full bio here.