This can make it difficult to customize or format your document layout, so you might be wondering how to make Word Online show pages if you need that information to continue editing your work. Fortunately, this is an option that you can enable. We will show you where this setting is, what it is called, and how you enable or disable it.
How to Make Word Online Show Pages
Our guide continues below with additional information on how to make Word Online show pages, including pictures of these steps. If you are working on a document in Google docs and it has too much space, then our guide on how to get rid of space between paragraphs in Google Docs can help. Sometimes it can be difficult to tell where one page ends and the next one begins when you are working in Microsoft Word. You may have found that you can switch the view type and see how your printed document will work, but there’s another option in Word Online, called Page Ends, that shows a horizontal line that identifies the end of the page. This helpful visual cue can make it a little easier for you to set up your documents, but you may find that it is getting in the way. Our tutorial below will show you how to enable or disable page ends in Word Online so that you can choose whether or not you want to see them. Read our signature font in Word guide if you would like to know more about some of the script or handwriting fonts that you can use in the desktop version of Word.
How to Turn On or Turn Off Page Ends in Word Online (Guide with Pictures)
The steps in this article were performed in the desktop version of Google Chrome, but will also work in other desktop Web browsers like Firefox and Microsoft Edge. Once you complete the steps in this guide you will have either enabled or disabled the page ends for your document. These are the horizontal lines that appear at the end of each page to let you know where one page stops and another begins.
Step 1: Navigate to Word Online at https://office.live.com/start/Word.aspx and sign in to the Microsoft Account containing the document for which you would like to enable or disable page ends.
Step 2: Open the document.
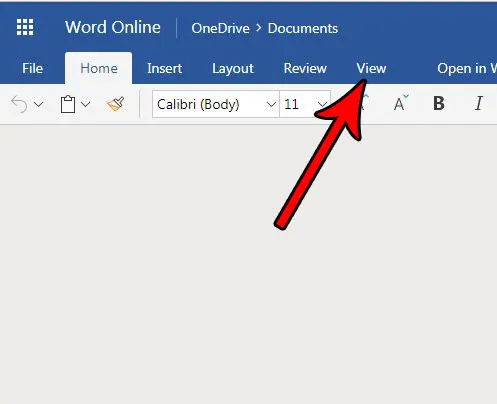
Step 3: Click the View tab at the top of the window.
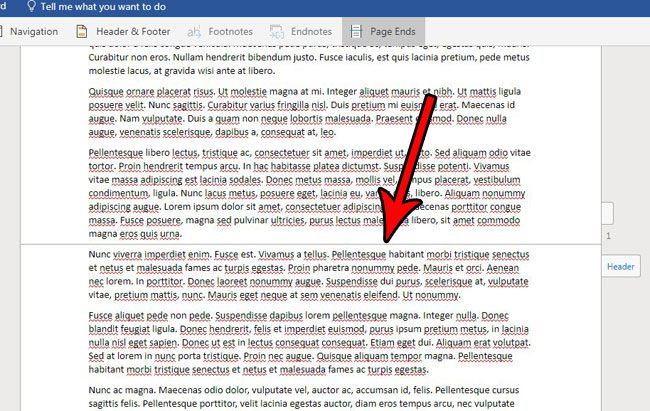
Step 4: Click the Page Ends button to toggle it on or off.
The Page Ends that we are hiding or displaying in this guide are identified in the image below. Now that you know how to make Word Online show pages you will be able to change the view whenever you need to see how the document will look with the page breaks that are applied automatically, or inserted manually. Are your sections causing formating issues and you want to get rid of them? Find out more with this how to delete section break in Word guide. Note that this is only a visual cue to identify the end of the page. This won’t affect the way that your document prints, nor will these lines appear on the printed document. Do you need to print on legal paper or A4 paper, but your document is set up for letter? Find out how to change the paper size in Word Online so that you are printing on the correct type of paper.
After receiving his Bachelor’s and Master’s degrees in Computer Science he spent several years working in IT management for small businesses. However, he now works full time writing content online and creating websites. His main writing topics include iPhones, Microsoft Office, Google Apps, Android, and Photoshop, but he has also written about many other tech topics as well. Read his full bio here.
You may opt out at any time. Read our Privacy Policy