You can also set up a passcode on your iPad 2 to block access to everything.
Turning On iPad 2 Restrictions
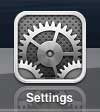
Once you have enabled restrictions on the iPad 2, you can freely add or remove access to different apps by entering the password. But you are going to need to remember that password to access the restricted content yourself, so make sure to set a password that is easily remembered. With that in mind, follow the steps below to enable restrictions on the iPad 2. Step 1: Tap the Settings icon.
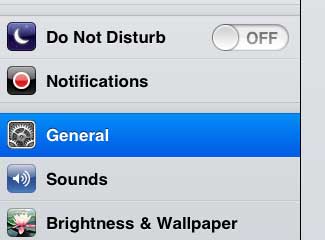
Step 2: Select the General option at the left side of the screen.
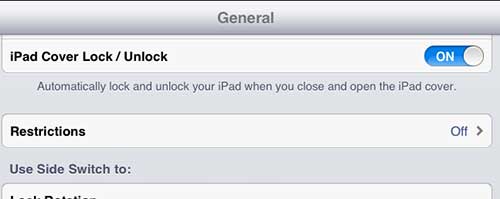
Step 3: Tap the Restrictions option at the right side of the screen.
Step 4: Touch the Enable Restrictions button at the top of the screen.
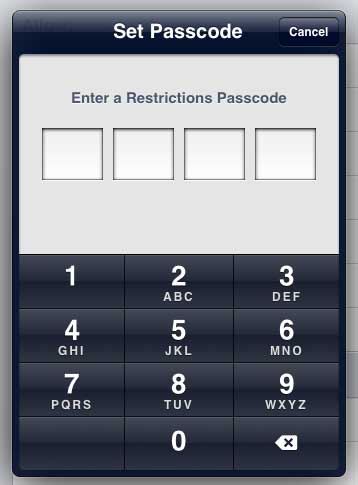
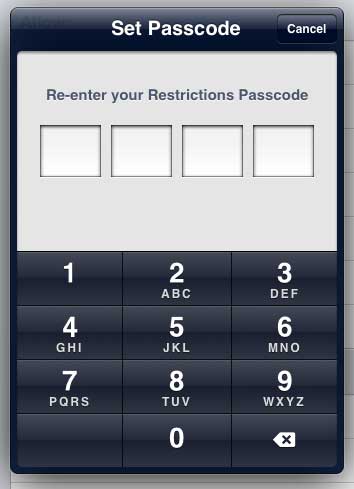
Step 5: Enter the passcode that you want to use to set your restrictions.
Step 6: Re-enter the passcode.
Step 7: Configure the options on this screen to set your preferred restrictions.
Note that if you restrict access to an app or content, it will not be displayed on the iPad. If you need to access it again in the future, you will need to come back to the Restrictions menu, log in with your passcode, and re-enable the restricted content. If you are thinking about upgrading to a newer iPad, or if you need to get one for another member of your family, consider the iPad Mini. It is more affordable, while offering a smaller form factor and the same functionality. After receiving his Bachelor’s and Master’s degrees in Computer Science he spent several years working in IT management for small businesses. However, he now works full time writing content online and creating websites. His main writing topics include iPhones, Microsoft Office, Google Apps, Android, and Photoshop, but he has also written about many other tech topics as well. Read his full bio here.
You may opt out at any time. Read our Privacy Policy
