But you might be thinking about manually copying and pasting that data or retyping it when you want to use it there. Luckily there is a faster way to do this by exporting your Outlook contacts into a CSV file that you can then open in applications like Microsoft Excel or Google Sheets.
How to View Outlook Contact Information in an Excel Spreadsheet
Our guide continues below with additional information on how to export Outlook contacts to Excel, including pictures of these steps. The information that you have stored for your contacts in Microsoft Outlook 2013 can be useful for a number of different reasons. Aside from storing information about how to get in touch with friends, family, coworkers, or clients, it also makes it easier to perform certain tasks, like making distributions lists. But whether you simply want to create a backup of this information to prevent it from being lost, or you need to view all of your contact information in one file to combine email addresses or phone numbers, the ability to put that information in a spreadsheet that Excel can read is very helpful. Fortunately, you can export all of your contacts from Outlook 2013 to a .csv file that you can view in Microsoft Excel. Google Calendar information can be viewed in Excel, too. You can learn more with our export Google Calendar to Excel tutorial.
Export Outlook Contacts to a .csv File (Guide with Pictures)
During the process of exporting your Outlook 2013 contacts to the .csv file format, you will be given the option to alternatively export them to a .pst file. This is not beneficial for the purpose of viewing your contacts in Excel, but can be helpful if you need to copy contacts from Outlook on one computer to Outlook on another computer. But since we are focused on exporting the Outlook contacts to a file format that can be read by Microsoft Excel, follow the steps below.
Step 1: Launch Microsoft Outlook 2013.
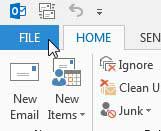
Step 2: Click the File tab at the top-left corner of the window.
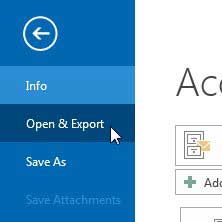
Step 3: Click the Open & Export option in the column at the left side of the window.
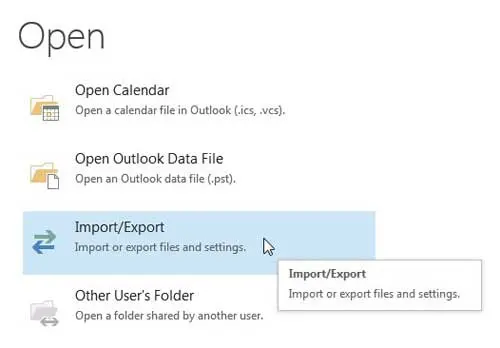
Step 4: Click the Import/Export button.
Step 5: Select the export to a file option, then click the Next button.
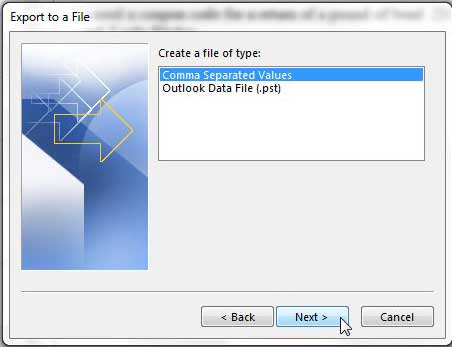
Step 6: Select the Comma Separated Values option, then click the Next button.
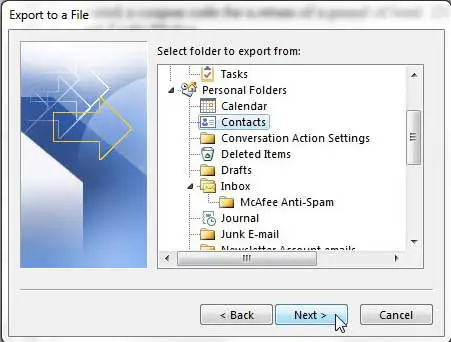
Step 7: Select the Contacts option under Personal Folders, then click the Next button.
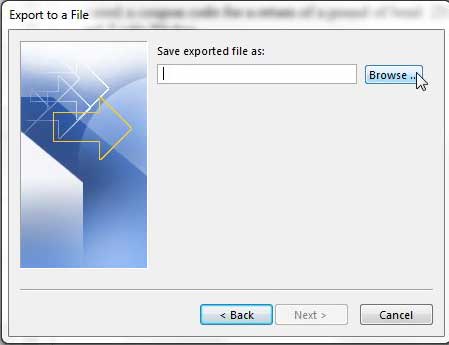
Step 8: Click the Browse button, enter a name for your exported file into the File Name field, select the location for the exported file, then click the OK button.
Step 9: Click the Next button.
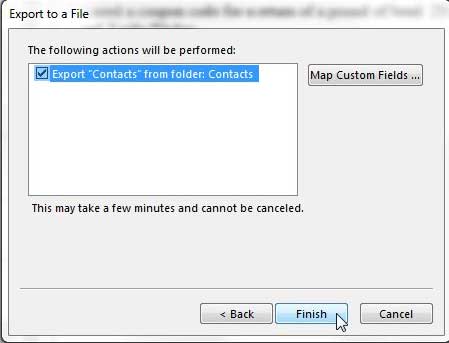
Step 10: Click the Finish button.
Now that you know how to export your Outlook contacts to a CSV file you will be able to back up this file or use it in other applications that support csv imports. Do you need to buy some gift cards for someone, but you are looking for an option that is a little more personal than the generic ones you would find in stores? After receiving his Bachelor’s and Master’s degrees in Computer Science he spent several years working in IT management for small businesses. However, he now works full time writing content online and creating websites. His main writing topics include iPhones, Microsoft Office, Google Apps, Android, and Photoshop, but he has also written about many other tech topics as well. Read his full bio here.
You may opt out at any time. Read our Privacy Policy