This article continues below with more information and pictures for each of the steps. Often the requirements for a document that you create are going to be very specific. There may be certain margin settings, spacing, and formatting options that you need to consider. While you may have figured out how to make those settings correctly, you may be struggling to performed an indent that is a specific size. Our guide below will show you how to indent half an inch in Microsoft Word. Have you been wondering how to change margins in Google Docs? Our one inch margins Google Docs tutorial can show you how to do this.
How to Indent a Half Inch on Microsoft Word
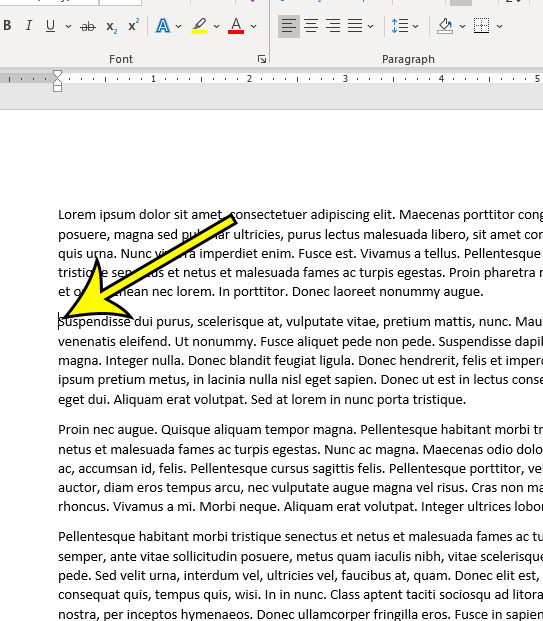
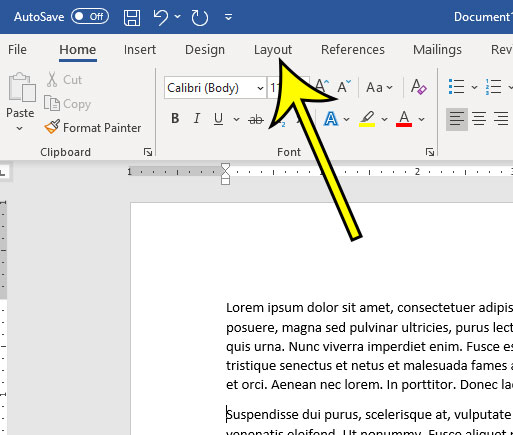
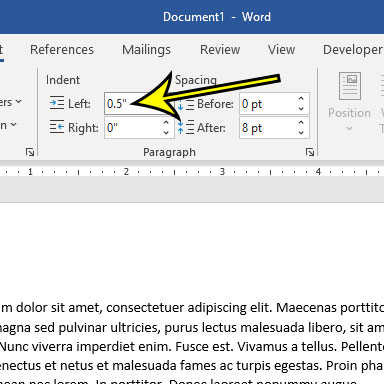
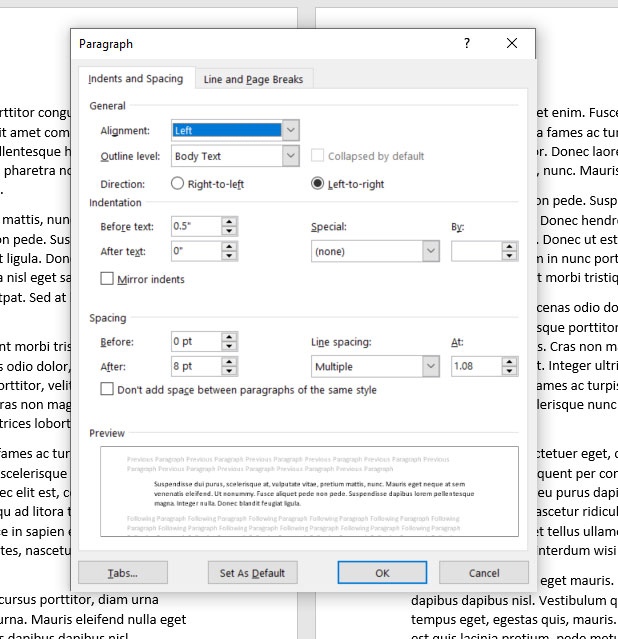
The steps in this article were performed in the desktop version of the Microsoft Word for Office 365 version of the application. Step 1: Open your document in Microsoft Word. Step 2: Place your cursor inside the paragraph to indent. Step 3: Choose the Layout tab at the top of the window. In some earlier versions of Word this might be “Page Layout” instead. Step 4: Click inside the Left field under Indent in the Paragraph section of the ribbon and change the value to 0.5″. Step 5: Press Enter on your keyboard to perform the indent. Note that you can also set the right indent if you would like. Additionally, if you click the small Paragraph Settings button at the bottom-right of the Paragraph section in the ribbon it will open the menu below, where you have some more indentation option. Find out how to add your last name and page number to every page in your document by taking advantage of Word’s Header settings. He specializes in writing content about iPhones, Android devices, Microsoft Office, and many other popular applications and devices. Read his full bio here.