By adding a caption to a photo in Word 2010 you are able to provide your readers with additional details about a particular image, or explain why that photo is relevant to the rest of the information in your document. Captioning a photo also provides you with the opportunity to include additional information that you might not otherwise be able to include in the document. Often times an image in a document can speak for itself. A picture in a paper or article is usually included because of its relevance to the subject of the document, so it might not need an explanation. But, in other situations, the purpose behind the image may not be clear, and an extra snippet of data, combined with the image, might improve the document. But learning how to insert an image caption in Word 2010 is not as simple as you would think, as the method for doing so is not located with the other picture settings. Luckily it is possible to insert an image caption under a picture in a Word 2010 document, and you can do it in a manner that is better than simply typing in the space below the page.
How to Insert a Caption in Word 2010
Our guide continues below with more information and pictures for these steps.
How to Add a Caption to a Photo in Word 2010
The benefit to using the image caption utility in Word 2010, as opposed to regular text under the image, is that the caption is formatted in a manner that seems more professional, plus it has a bunch of presets to help you consistently label your images, if there are multiple ones requiring a caption. Continue reading to learn more about inserting and customizing picture captions in Word 2010.
Step 1: Open the document containing the image to which you want to add a caption.
Step 2: Scroll through the document, then click the image to which you want to add a caption.
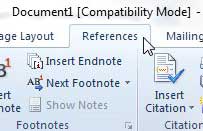
Step 3: Click the References tab at the top of the window.
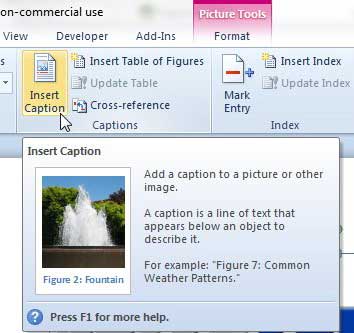
Step 4: Click the Insert Caption button in the Captions section of the ribbon at the top of the window.
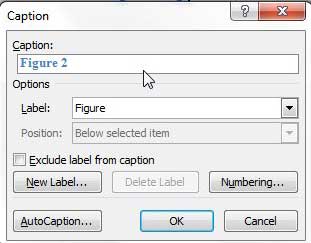
Step 5: Type the contents of your caption into the field under Caption at the top of the window, then click the OK button.
Note that Word will automatically include consecutively numbered labels before your manually added caption. If you do not want to include a label, check the option to the left of Exclude label from caption. You can also modify the label itself by choosing an option from the Label drop-down menu, and you can modify the numbering format by clicking the Numbering button. If you do not want to include either the label or the numbering, you can manually edit the image caption after it has been inserted in the document. You may also wish to include alt text for your image so that people with visual impairments will be able to understand what the image is adding to the document. Check out Microsoft’s guide on alt text to learn more. Is your picture currently having a negative effect on your document layout? Learn how to wrap text around a picture in Word 2010 to provide yourself with an image that feels like it is more integrated into the document.
See also
How to insert a check mark in Microsoft WordHow to do small caps in Microsoft WordHow to center text in Microsoft WordHow to merge cells in Microsoft Word tablesHow to insert a square root symbol in Microsoft Word
After receiving his Bachelor’s and Master’s degrees in Computer Science he spent several years working in IT management for small businesses. However, he now works full time writing content online and creating websites. His main writing topics include iPhones, Microsoft Office, Google Apps, Android, and Photoshop, but he has also written about many other tech topics as well. Read his full bio here.
You may opt out at any time. Read our Privacy Policy