Fortunately Google Sheets provides you with the ability to protect cells by defining a protected range in the sheet. Our tutorial below will show you how to lock cells in Google Sheets so that you can restrict who can edit this range of cells.
How to Protect a Range in Google Sheets
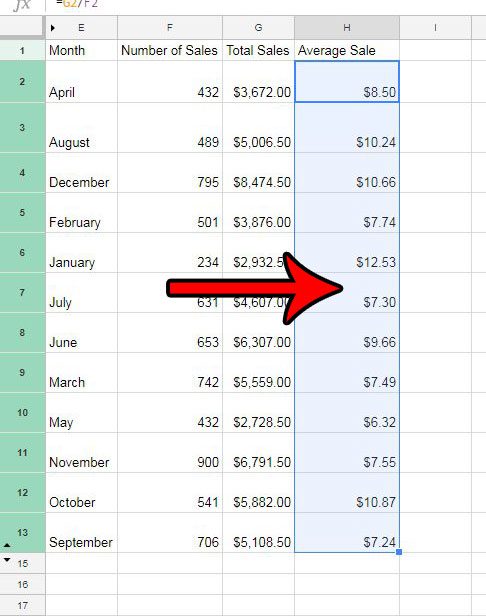
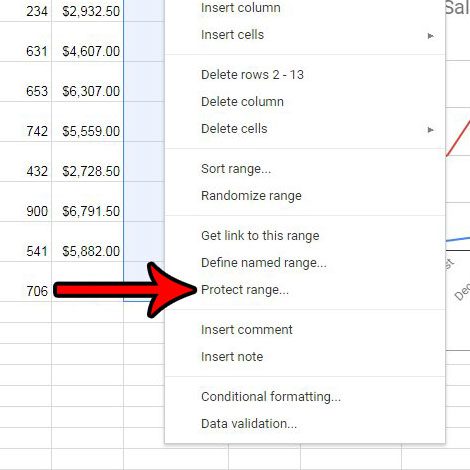
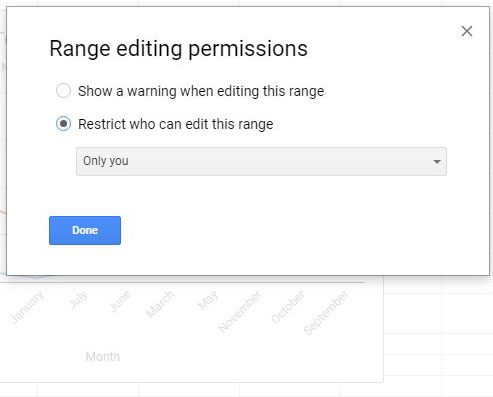
The steps in this article were performed in the desktop version of the Google Chrome Web browser. These steps will also work for other modern desktop browsers like Firefox or Microsoft Edge. Once you complete this guide you will have edited one of your Google Sheets spreadsheets so that cells or sheets in that file cannot be edited without permissions that you define for these protected sheets and ranges. These permissions are granted via name or email address. Step 1: Sign into Google Drive at https://drive.google.com and open the Google Docs spreadsheet that you would like to modify. Step 2: Use your mouse to select the individual cells, multiple cells, or entire worksheet that you would like to lock. Step 3: Right-click on one of the selected cells and choose the Protect range option. Step 4: Type a name for the selected range into the Enter a description field at the top of the right column, then click the Set permissions button. Step 5: Use the options on this menu to restrict who can edit this range or elect to show a warning when editing this range, then click the Done button. Note that you can click the drop down menu under Restrict who can edit this range if you would like to add additional people who can edit. If you would like to add another range of protected cells to this sheet you will need to repeat the steps above for the new range, or if you click Add a sheet or range in the right column under Protected sheets & ranges. You can remove a protected range by clicking on it in the Protected sheets & ranges column at the right side of the menu, then clicking the trash can to the right of the range description that you specified in Step 4 above. Alternatively you can use this screen to change any of the existing information about the range, such as its description, the range itself, or the people that have permission to edit that range. If you elect to restrict permissions for an entire sheet, simply click the Sheet tab instead of the Range tab in Step 4. This can be a better alternative not only if you want to restrict editing on an entire sheet, but if you want to restrict the majority of the cells on a sheet. This is possible by choosing to set ranges of cells to exclude from the restricted permissions rather than adding cells that are restricted. This guide will show you how to merge cells in Google Sheets if the layout of your data dictates that some of your cells need to take up multiple rows or columns.
See also
How to merge cells in Google SheetsHow to wrap text in Google SheetsHow to alphabetize in Google SheetsHow to subtract in Google SheetsHow to change row height in Google Sheets
After receiving his Bachelor’s and Master’s degrees in Computer Science he spent several years working in IT management for small businesses. However, he now works full time writing content online and creating websites. His main writing topics include iPhones, Microsoft Office, Google Apps, Android, and Photoshop, but he has also written about many other tech topics as well. Read his full bio here.
You may opt out at any time. Read our Privacy Policy