But this may result in video that is different than you would like, and you might be looking for a way to change the setting. Our guide below will show you the menu where you can disable the option to use both lenses by locking the cameras lens when you are recording video. Once enabled, your iPhone will stop automatically switching between lenses as it does by default.
Disable Lens Switching on the iPhone 7 When Recording Video
The steps in this guide were performed on an iPhone 7 Plus, in iOS 10.0.3. Step 1: Tap the Settings icon.
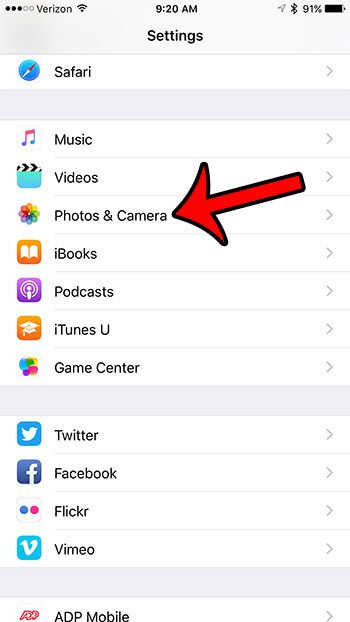
Step 2: Scroll down and select the Photos & Camera option.
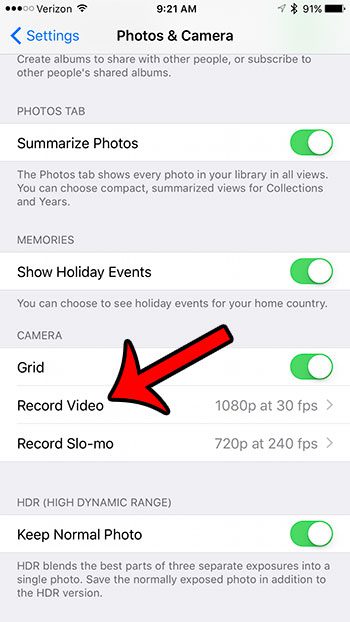
Step 3: Scroll down and tap the Record Video button in the Camera section of the menu.
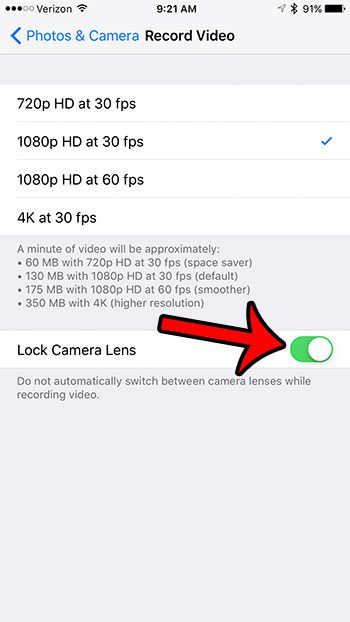
Step 4: Tap the button to the right of Lock Camera Lens to enable the setting. It is turned on where there is green shading around the button, and the button is in the right position. I have enabled the Lock Camera Lens setting in the picture below.
If you are recording a lot of video on your iPhone, then you might need to find a way to make some additional storage space for those videos on your device. Our guide to making room on your iPhone can show you many of the options available to you that can help to regain that space. After receiving his Bachelor’s and Master’s degrees in Computer Science he spent several years working in IT management for small businesses. However, he now works full time writing content online and creating websites. His main writing topics include iPhones, Microsoft Office, Google Apps, Android, and Photoshop, but he has also written about many other tech topics as well. Read his full bio here.
You may opt out at any time. Read our Privacy Policy