While this is often done through document formatting and the inclusion of media objects, you can also customize the background of a Word document with a watermark. But as you navigate the Watermark list in the application, you might find that you don’t see what you want, or that you can’t find a way to use your own picture as a background picture. You can add a background image in Microsoft Word by going to Design > Watermark > Custom Watermark > then choose Picture Watermark, followed by Select Picture. You can then browse to the picture to select it, then apply the watermark to the document. Word 2013 has some basic default options that are good for a lot of situations, but you can use this watermarking feature to include one of your own images as the background picture.
How to Add a Background Picture in Word 2013
Our guide continues below with additional discussion on making background images in Word 2013, including pictures of these steps.
How to Create Custom Watermarks in Word 2013 (guide with Pictures)
You will notice in the tutorial below that the custom watermark menu has a few different options that you can use to customize the appearance of your background image. I am going to focus on showing you how to insert a washed-out copy of your picture, as that will allow the picture to be displayed without overshadowing any information that might be displayed over top of it.
Step 1: Open a Word 2013 document.
Step 2: Click the Design tab at the top of the window.
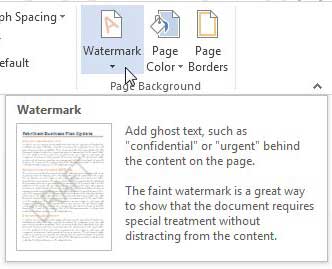
Step 3: Click the Watermark option in the Page Background section of the ribbon at the top of the window, which will expand a drop-down menu.
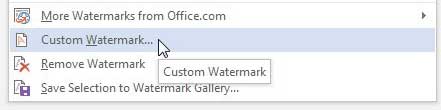
Step 4: Click the Custom Watermark option at the bottom of the menu.
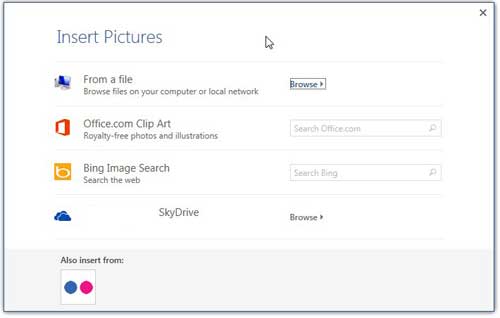
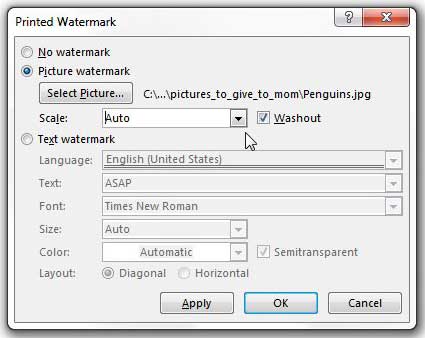
Step 5: Click the Picture watermark option, then click the Select Picture button underneath it.
Step 6: Select one of the image source options, then select the image that you want to use as your background picture.
Step 7: Click the drop-down menu to the right of Scale to choose how large to make the picture, click the Apply button, then click OK.
Our tutorial continues below with additional discussion on working with watermarks and background images in Microsoft Word.
More Information on How to Make a Watermark in Word 2013
You will notice that there is a Washout box to the right of the Scale drop-down menu. You can uncheck this to display a clear version of your image, but note that it can make it difficult to read or see any information that is placed on top of the background picture. When you chose the Custom Watermark button after clicking on Watermark in the Design tab, you had to go by a bunch of standard watermark options that Word can insert automatically. These include things like “Draft” or “Confidential” and can come in handy when you need to label documents as such. The bottom half of the Printed Watermark dialog box includes a bunch of settings for text watermarks. If you only need to put a word or some letters in the background of your document, but the default options that are listed on the Watermarks menu aren’t correct, then this is where you would create your own custom one. When you add a background image in Microsoft Office like this then you will have limited options to format picture settings or use different picture styles. If the image that you want to use needs some adjustments or picture corrections then you may need to make those in an outside program like Paint or Photoshop. However, if you are unable to do this then you have the option of adding a shape to your document, like a rectangle, then filling that shape with your picture. You can then use the “Picture or Texture Fill” option to place your image inside the shape. That shape can then be moved behind your text, and you can use the Format tab to make adjustments to its appearance. This can be a useful technique if you need to include multiple images in the background of your Word documents, or if you don’t like the options offered by the Picture Watermark tool. If you are also using Outlook 2013, then you might be wondering how to remove the weather from your Calendar. While this can be helpful information, it can also be distracting.
Additional Sources
How to insert a check mark in Microsoft WordHow to do small caps in Microsoft WordHow to center text in Microsoft WordHow to merge cells in Microsoft Word tablesHow to insert a square root symbol in Microsoft Word
After receiving his Bachelor’s and Master’s degrees in Computer Science he spent several years working in IT management for small businesses. However, he now works full time writing content online and creating websites. His main writing topics include iPhones, Microsoft Office, Google Apps, Android, and Photoshop, but he has also written about many other tech topics as well. Read his full bio here.
You may opt out at any time. Read our Privacy Policy