How to Print the Last Page First in Word 2010
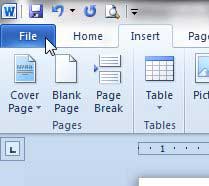
This method is specific to the Word 2010 program, so it does not matter which type of printer you are using to print the document. Additionally, you are going to be changing the default settings. So if you only want to print this specific document in reverse order, then you will need to change this setting again before you print your next document. Step 1: Open your document in Microsoft Word. Step 2: Click the File tab at the top-left corner of the window.
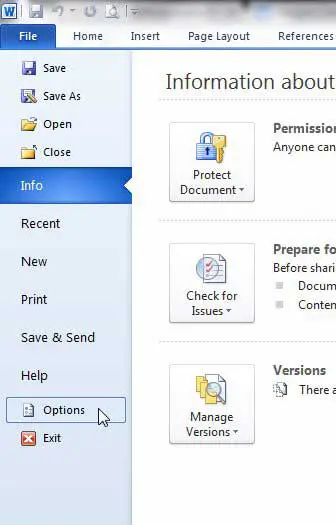
Step 3: Click Options at the bottom of the column on the left side of the window.
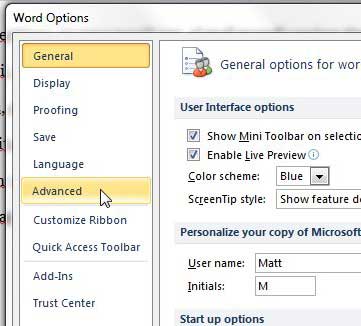
Step 4: Click Advanced in the column at the left side of the Word Options window.
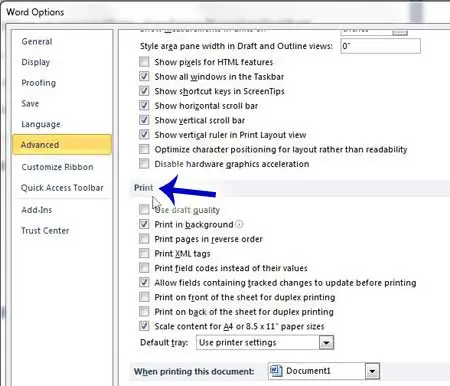
Step 5: Scroll down to the Printing section of this menu.
Step 6: Check the box to the left of Print pages in reverse order, then click the OK button at the bottom of the window.
All of your Word documents will now print in reverse order until you change this setting again. Do you need to print a lot of separate Word documents, but it’s taking a while? This article will show you how to print multiple Word documents at once in Windows 7. After receiving his Bachelor’s and Master’s degrees in Computer Science he spent several years working in IT management for small businesses. However, he now works full time writing content online and creating websites. His main writing topics include iPhones, Microsoft Office, Google Apps, Android, and Photoshop, but he has also written about many other tech topics as well. Read his full bio here.
You may opt out at any time. Read our Privacy Policy