This is just one of several different ways that people will try to workaround the seeming lack of a printing option on an iPad when it comes to printing pictures. But there is actually an option on the iPad where you can print those pictures directly to your printer, which can save you some time. Our tutorial below will show you how to print iPad pictures by sending them from the device directly to your compatible printer.
How to Send iPad Pictures to Your Printer
Your iPad 2 is capable of replacing your computer in many ways, but easy printing is not one of them. You may have frustratingly tried to print things in the past, only to wonder how something as basic as printing could be overlooked on an otherwise excellent device. However, many of the apps that you use on your iPad 2 do have printing capabilities; they are just hidden on the Sharing menu. So if you have been wanting to print pictures from your iPad, you can do so by following the steps below. Check out our iPad scan QR code guide if you want to start using the Camera app on your Apple tablet to scan the QR codes that you see around you.
How Do I Print Pictures from my iPad 2? (Guide with Pictures)
The method for printing your iPad 2 pictures is going to rely on a feature called AirPrint. This is the method that your iPad uses to connect to compatible printers on your Wi-Fi network, and it is a feature commonly found in most new wireless printers. Unfortunately, though, this means that you will have difficulties printing directly from your iPad 2 to a printer that does not support AirPrint. Many printer manufacturers offer dedicated apps that will allow you to print from the iPad if your printer is not AirPrint compatible, so you can always investigate available apps from your printer’s manufacturer to determine if that will allow you to print from a non-AirPrint compatible printer. If you don’t have an AirPrint printer, then you can alternatively access your pictures from a computer that can connect to your printer. Read this article to learn how to email multiple pictures from your iPad 2. But if you have an AirPrint printer and it is connected to your wireless network, you can follow the steps outlined below to print to it from your iPad.
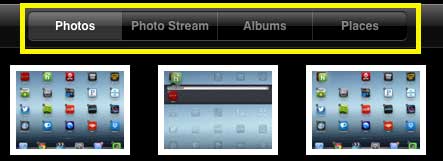
Step 1: Tap the Photos icon.
Step 2: Select the location of the picture that you want to print from the options at the top of the screen.
Step 3: Touch the thumbnail image of the picture that you want to print.
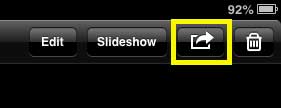
Step 4: Touch the Share icon at the top of the screen.
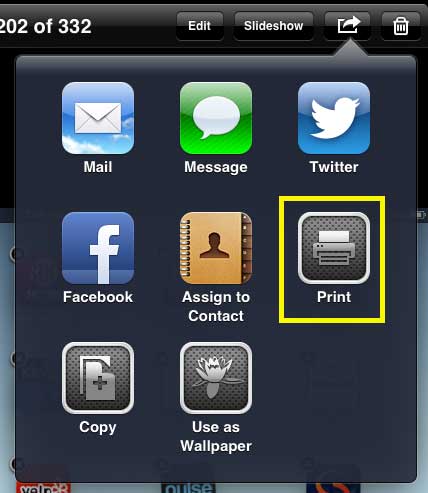
Step 5: Select the Print option.
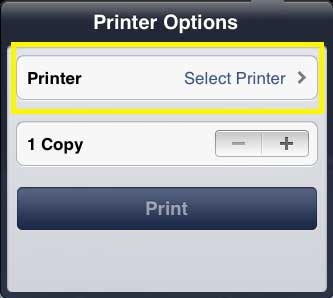
Step 6: Touch the Printer button to select a printer.
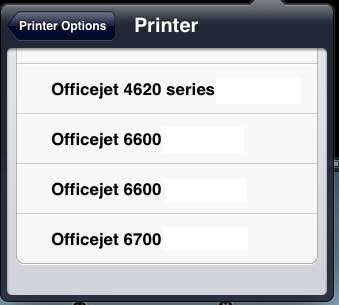
Step 7: Select the printer to which you want to print your pictures.
Step 8: Touch the Print button.
Now that you know how to print pictures from your iPad you will be able to use these steps any time you have a picture on the device and you would like to have a physical copy. If you don’t have an AirPrint printer but are thinking about getting one, consider the Officejet 6700. It’s a great printer with affordable ink, and it will easily integrate into your existing wireless network.
Additional Sources
After receiving his Bachelor’s and Master’s degrees in Computer Science he spent several years working in IT management for small businesses. However, he now works full time writing content online and creating websites. His main writing topics include iPhones, Microsoft Office, Google Apps, Android, and Photoshop, but he has also written about many other tech topics as well. Read his full bio here.