Fortunately the text boxes that you create in Excel 2010 can be modified in a number of different ways, and one of the modification options is the ability to change the color of the border, or even remove it entirely. Our tutorial below will show you the menu where you can remove the border from your Excel text box.
Removing Text Box Borders in Excel 2010
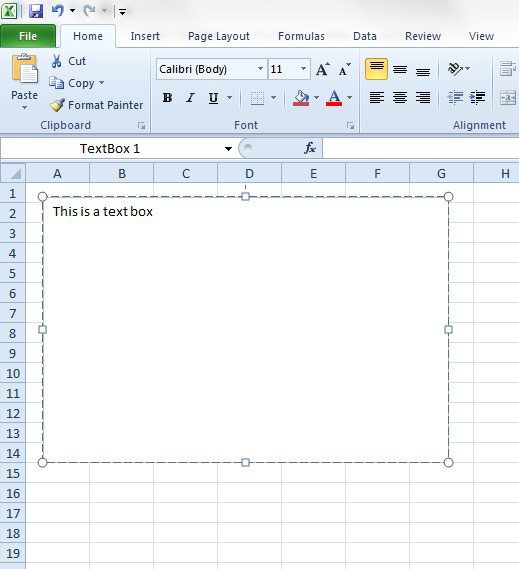
The steps in this article will assume that you already have a text box in your worksheet, and that you want to remove an existing border from that text box. Step 1: Open your worksheet in Excel 2010. Step 2: Click anywhere inside the text box to make it the active window.
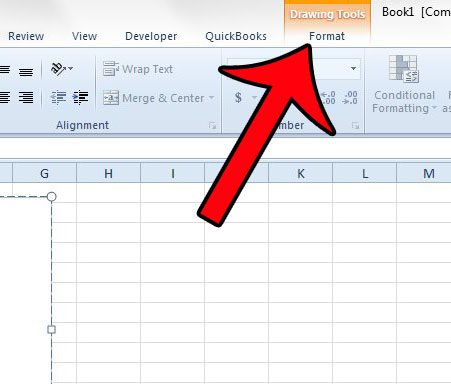
Step 3: Click the Format tab at the top of the window, under Drawing Tools.
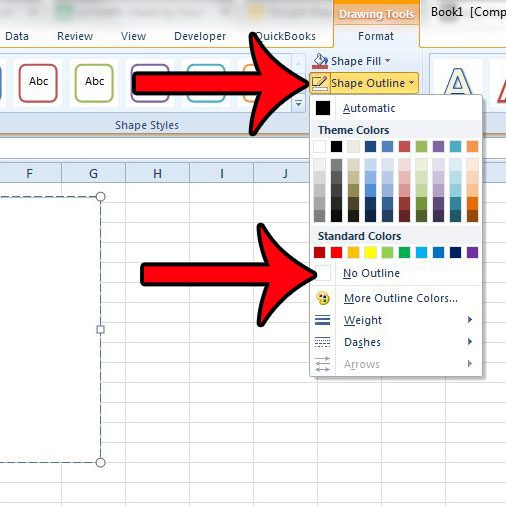
Step 4: Click the Shape Outline button in the Shape Styles section of the Office ribbon, then click the No Outline option. Your text box will now be a simple box with no border color. Note that you can use this same menu if you wish to change the color of the border surrounding the text box.
Make sure to save your worksheet after making these changes so that the text box will still look this way the next time you open the file. Have you been trying to display a formula result in a text box in Excel 2010, but the formula won’t calculate? Find out what you need to do for formula results to display inside of an Excel 2010 text box. After receiving his Bachelor’s and Master’s degrees in Computer Science he spent several years working in IT management for small businesses. However, he now works full time writing content online and creating websites. His main writing topics include iPhones, Microsoft Office, Google Apps, Android, and Photoshop, but he has also written about many other tech topics as well. Read his full bio here.