Microsoft Word 2013 provides a few methods by which you can modify a picture that you have inserted into a document. One of those methods is adding a border to the picture. This can be helpful both for stylistic purposes, as well as to provide a clearer distinction between where the picture ends and the document begins. But if you dislike the border, you can remove it. Our guide below will show you a couple of different options for removing borders that have been added to a picture in Word 2013.
How to Remove a Border from a Picture in Word 2013
Our article continues below with additional information on removing borders in Word 2013, including pictures of these steps.
Removing a Border from a Picture in Word 2013 (Guide with Pictures)
The steps in this article will assume that a border has been added to a picture in your Word 2013 document. If you follow the steps below and the border is not removed, then the border may actually be a part of the image itself, rather than a border that was added in Word. In that case, you will need an image editing program like Microsoft Paint or Adobe Photoshop to remove the border.
Step 1: Open the document that contains the picture with the border that you want to remove.
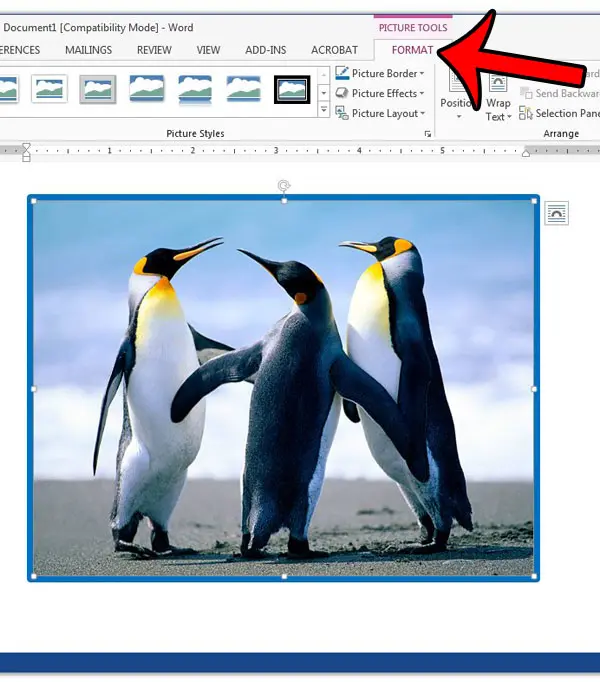
Step 2: Click the picture to select it, which will show a Format tab at the top of the window.
That Format tab should also be active now. If not, click it.
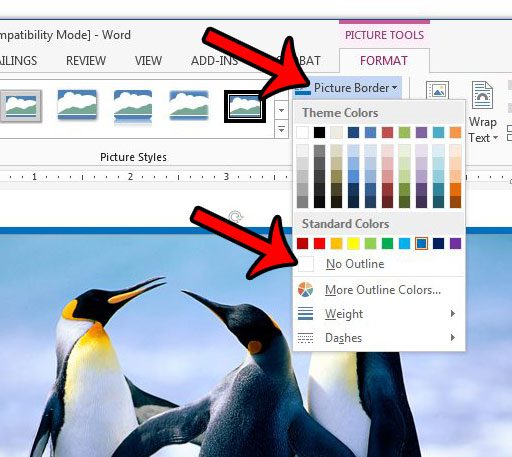
Step 3: Click the Picture Border button in the Picture Styles section of the ribbon, then click the No Outline option.
The border should now be gone. If, however, the border still remains, then it may have been added in a different way. One other option to remove the border from your picture is to reset the picture. You can do this from the Format tab as well. Click the Reset Picture button in the Adjust section of the ribbon. Note that this will undo any other adjustments that you have made to the picture as well. If the border is around the entire document, rather than just a picture in the document, then you can follow the steps in the next section.
How to Remove Border in Word 2013 Document
If you see a line or decoration around the body of your document, then that document has a border. These are typically used on documents that are more visually oriented, like a newsletter or a flyer, but occasionally people may use them on traditional documents. Regardless of the situation, if you have a document with a border that needs to be removed, then you can do it with these steps. Another situation with borders that you might encounter involves a border that is around a single word, sentence, or paragraph.
More On the Borders and Shading Dialog Box
When you are making changes to the page border in the section above you are adjusting settings in a window called Borders and Shading. At the top of this window is a Borders tab, a Page Borders tab, and a Shading tab. The “Borders” tab provides ways to customize borders around part of your document. It also gives you a way to access these options from the Design tab rather than using the option on the Home tab in the Paragraph group that we will discuss in the section below. Selecting either of those options is going to provide you with ways to remove or customize a border around your entire document or just part of it.
How to Remove a Border from Part of a Document in Word 2013
If you see a line or graphic around a single word, a sentence or two, or one or more paragraphs, then you are dealing with a different kind of border. Microsoft Word has a number of different formatting options on the Home tab, and one of them lets you use borders. Luckily these can be removed in a manner similar to most other changes that are applied to a selection in a document.
More Information on How to Remove Borders in Word 2013
When using the steps in this article to remove a border from a picture, it is assumed that the border was added in Word. If it’s actually a part of the picture, then you will need to use an image editing application t remove the border instead. As mentioned previously, if the border still remains, then it is likely a part of the picture itself. You can edit the picture in an image-editing program, or you can try to crop the picture in Word 2013.
Additional Sources
After receiving his Bachelor’s and Master’s degrees in Computer Science he spent several years working in IT management for small businesses. However, he now works full time writing content online and creating websites. His main writing topics include iPhones, Microsoft Office, Google Apps, Android, and Photoshop, but he has also written about many other tech topics as well. Read his full bio here.
You may opt out at any time. Read our Privacy Policy