Fortunately removing gridlines in Word 2013 only requires you to adjust a single setting, which we will point you to the in the steps below.
How to Hide Gridlines in Word 2013
The steps below will show you how to remove gridlines that are visible in your document. Note that gridline visibility can carry over when you close Word. So the gridlines will either be visible or hidden the next time you open Word based on the setting that we will be modifying below. Step 1: Open the document in Word 2013. Step 2: Click the View tab at the top of the window.
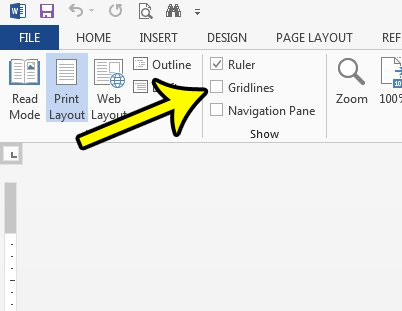
Step 3: Click the box to the left of Gridlines in the Show section of the ribbon to remove the checkmark. The gridlines should now be gone.
Please note that the steps described above will only hide the objects that Word labels as gridlines. If you complete these steps and are still seeing lines on your document, then it is possible that they were put there via a different method, such as a table. There is a separate tab that appears at the top of Word when you click on a table. This allows you to perform edits on the table’s settings, such as repeating a table header at the top of every page, and will also provide you with an option to hide the table borders. He specializes in writing content about iPhones, Android devices, Microsoft Office, and many other popular applications and devices. Read his full bio here.