Digital cameras have a tendency to put pictures in a different orientation than you originally wanted. If you add a picture to a Word 2013 document and find that it is portrait instead of landscape, then you will need to rotate that picture to achieve the desired result. Fortunately this is something that you can do with the picture editing tools in Word 2013, which give you a handful of ways to rotate a picture in Word. Our guide below will show you where to find the picture rotation options in Word 2013 so that you can adjust the layout of your picture and display it in the document as intended.
Rotating an Image in Word 2013
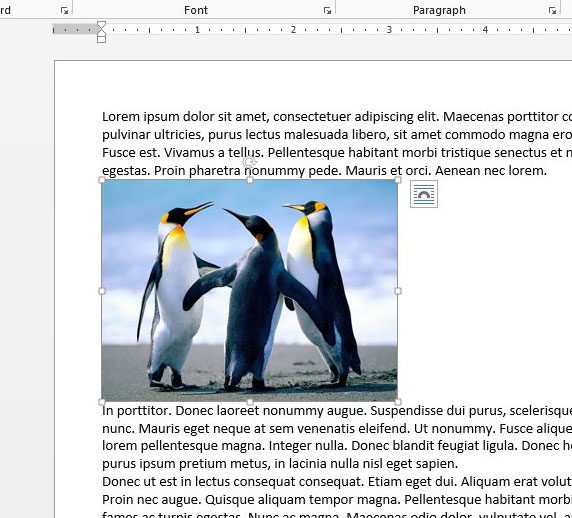
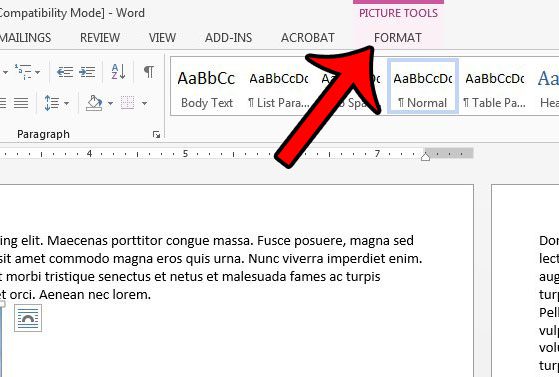
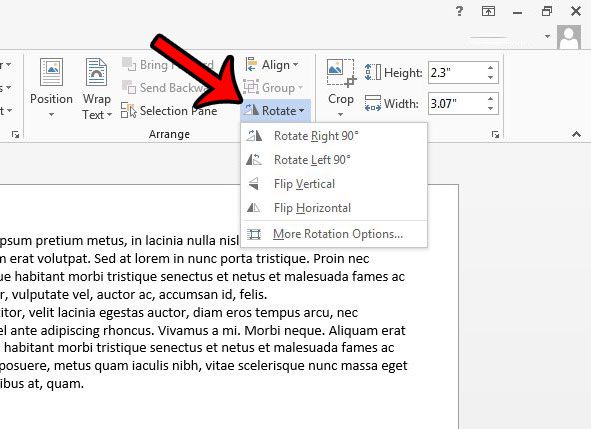
The steps in this article will show you how to select a picture in a Word 2013 document and rotate it based on its original position. Note that this will not affect the source file that is stored on your computer. You have a couple of rotation options, such as flipping the picture, that should help you to achieve the desired look. Step 1: Open the document containing the picture that you want to rotate. Step 2: Locate the picture in the document, then click it once to select it. If you still need to insert the picture, click here to learn how. Step 3: Click the Format tab at the top of the window, under Picture Tools. Step 4: Click the Rotate button in the Arrange section at the right side of the ribbon, then select the amount by which you would like to rotate the picture. You will note that there are only default options for Rotate Right 90, Rotate Left 90, Flip Vertical, and Flip Horizontal. If you wish to rotate the picture by a different amount, then click the More Rotation Options button. You should then see a pop-up window similar to the one below. Click inside the field to the right of Rotation, and enter a value equal to the number of degrees by which you would like to rotate the image. You can then click the OK button at the bottom of the window to apply the rotation to the picture. If you find that you make too many changes to the picture and you aren’t sure how to return to a state where you can continue to adjust it, then you can click the reset button at the bottom-right of the window to restore it to its original settings. If you would like to rotate your picture by an amount other than the options listed when you click the Rotate button, select the More Rotation Options button from the menu instead. Another way to adjust the orientation of your picture is to flip it. Click here to learn more about flipping pictures in Word 2013. After receiving his Bachelor’s and Master’s degrees in Computer Science he spent several years working in IT management for small businesses. However, he now works full time writing content online and creating websites. His main writing topics include iPhones, Microsoft Office, Google Apps, Android, and Photoshop, but he has also written about many other tech topics as well. Read his full bio here.
You may opt out at any time. Read our Privacy Policy