So once you have created your HTML email in the HTML editing tool of your choice and you have it formatted the way that you want it to appear, you can follow our short guide to learn how to insert that HTML file directly into the body of your Outlook 2013 email message.
Send an HTML Page as an Email in Microsoft Outlook 2013
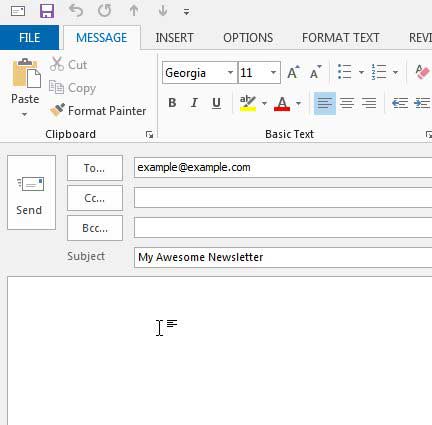
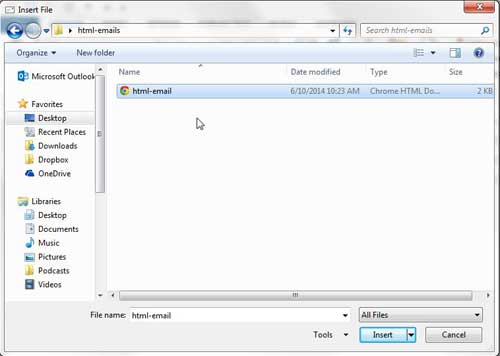
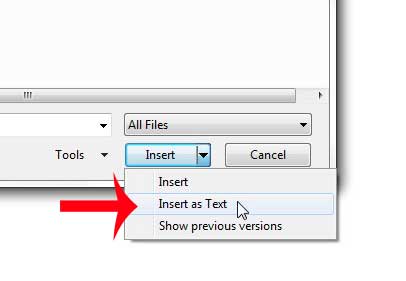
This tutorial will assume that you have already created your HTML email. We are going to be attaching the HTML file in the body of the email message in the steps below. Any images that you include in the email need to be hosted on a website, and the image locations need to be referenced with the full URL. For example, if I were sending an email that was referencing an image on solveyourtech.com, it might look like this – “”<img alt=”Solve Your Tech” src=”https://www.solveyourtech.com/images/newsletter-image.jpg” width=”200″ height=”200″/>“” It’s also a good idea to include an “alt” tag on any image that you include, as many email providers will not display images by default and will ask email recipients to download pictures for HTML emails, so the “alt” text will be visible in the image space instead of a blank square. Any CSS included in the email should also be placed directly inside of the HTML file (in the HEAD section) instead of referenced via a “”link rel stylesheet”” meta tag in the header. This can prevent any display issues that can occur if an email provider blocks the linked style sheet. Step 1: Open Outlook 2013. Step 2: Click the New Email button at the top-left corner of the navigational ribbon to create a new message. Step 3: Enter your recipients and subject into the appropriate fields, then click inside the message body. Step 4: Click the Attach File button in the Include section of the navigational ribbon. Step 4: Browse to the HTML file on your computer that you want to include as the body of your email message, then click it once to select it. Step 5: Click the arrow to the right of the Insert button, then click the Insert as text button. You should now see your HTML email in the message body of your Outlook message, and you are ready to send it. Tip – I always like to send an HTML email to one (or more) of my own email addresses before I send it to all of my recipients. This lets me see how the message will display for others, which allows me to troubleshoot any potential problems. This is especially helpful if you have multiple email addresses with different popular email providers (such as Gmail, Yahoo and Outlook.com/Hotmail), as those email addresses can account for a significant part of your mailing list.
See also
How to disable work offline in OutlookHow to strikethrough in OutlookHow to create a Vcard in OutlookHow to view the blocked sender list in OutlookHow to set up Gmail in Outlook
After receiving his Bachelor’s and Master’s degrees in Computer Science he spent several years working in IT management for small businesses. However, he now works full time writing content online and creating websites. His main writing topics include iPhones, Microsoft Office, Google Apps, Android, and Photoshop, but he has also written about many other tech topics as well. Read his full bio here.
You may opt out at any time. Read our Privacy Policy