Fortunately you can get around this problem by using the timer in the iPhone’s camera app. This will allow you to press the shutter button and give yourself a few seconds to get into the frame before the picture is taken. Our tutorial below will show you how to use the camera timer on the iPhone SE.
How to Use the Timer When Taking a Picture on the iPhone SE
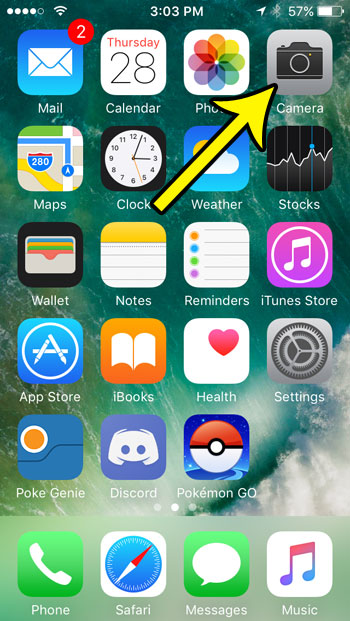
The steps in this article were performed on an iPhone SE, in IOS 10.3.2. You will be able to take a timed picture with the default camera app, and you will be able to select from a countdown time of either 3 or 10 seconds. Step 1: Open the Camera app.
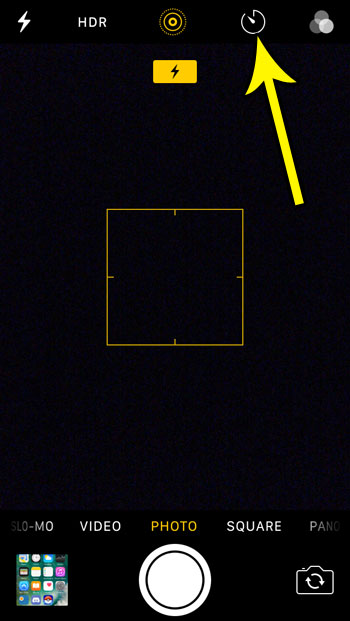
Step 2: Touch the timer icon at the top of the screen.
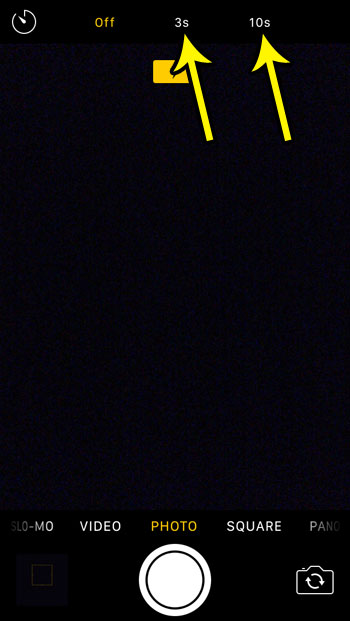
Step 3: Select the amount of time that you want to have between the time you press the shutter and the time the picture is taken.
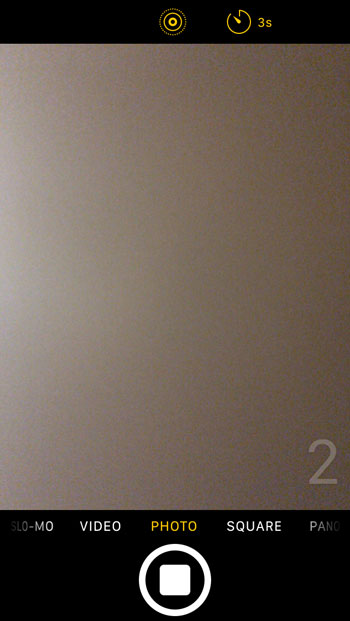
Step 4: Press the shutter button at the bottom of the screen. The countdown timer will display at the bottom-right corner of the screen.
Another interesting way to use the camera timer involves the Apple Watch. Find out how to use the Apple Watch as a remote control to take pictures with your iPhone. He specializes in writing content about iPhones, Android devices, Microsoft Office, and many other popular applications and devices. Read his full bio here.