Our guide below will show you where to find this setting so that you can specify your work schedule and make using your calendar a little easier. This is especially helpful if you have a schedule that varies a lot, or if you rely heavily on your calendar to schedule events for your job.
How to Specify Which Hours are Work Hours in Microsoft Outlook 2013
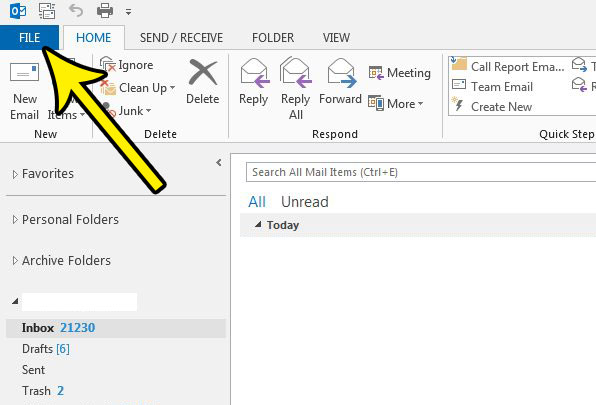
The steps in this article were performed in the 2013 version of the Microsoft Outlook program. You are able to choose the hours of each day, the days of the week, when a week starts, and when a year starts. Step 1: Open Outlook 2013. Step 2: Click the File tab at the top-left of the window.
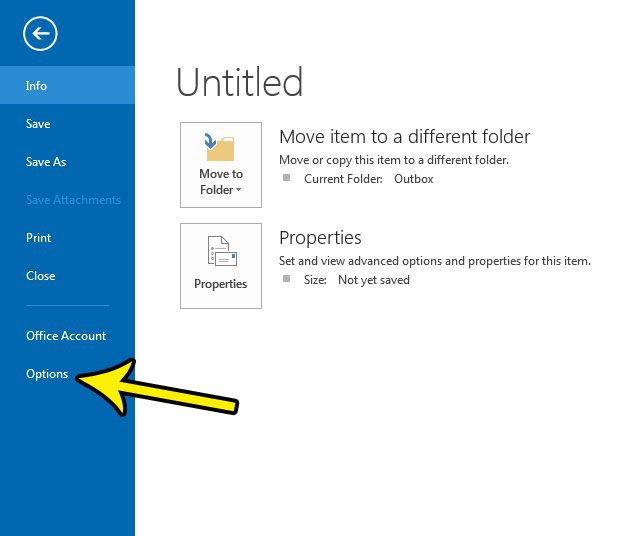
Step 3: Click the Options button.
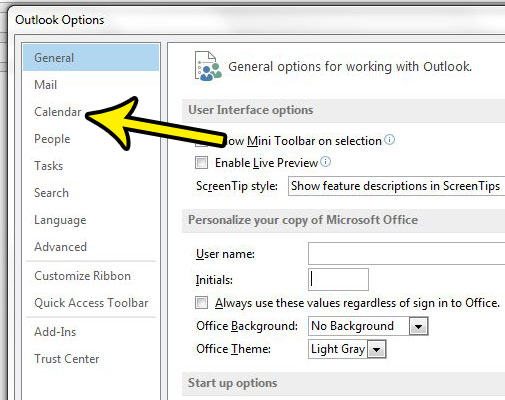
Step 4: Select the Calendar tab in the left column of the Outlook Options window.
Step 4: Adjust the settings for your work wee in the section at the top of the menu. As mentioned previously you can choose the hours, days, the start of the work week, and the first week of the year. Once you are done, click the OK button at the bottom of the window.
Is Outlook 2013 not checking for new emails often enough to meet your needs? Learn how to change the send and receive settings in Outlook so that it checks your email server more frequently. He specializes in writing content about iPhones, Android devices, Microsoft Office, and many other popular applications and devices. Read his full bio here.