How to Keep Your Meeting Request Emails in Your Inbox in Outlook 2013
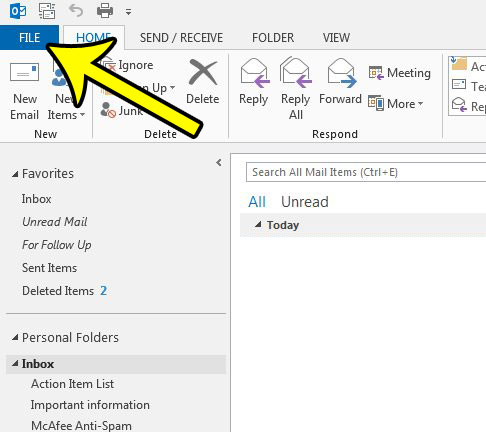
The steps below are going to change the Outlook 2013 behavior where meeting request emails are deleted after you act on them. Often these meeting request can contain important information that you need to reference later, and having the ability to keep them around by preventing their deletion can prove to be very useful. Step 1: Open Outlook 2013. Step 2: Click the File tab at the top-left corner of the window.
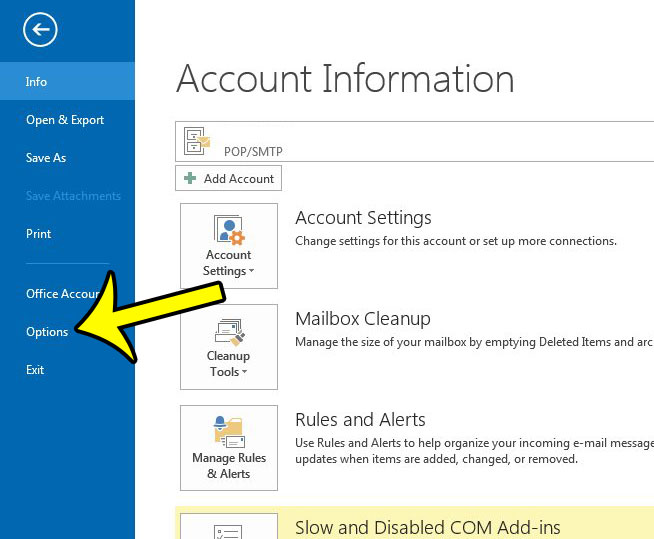
Step 3: Click the Options button at the left side of the window.
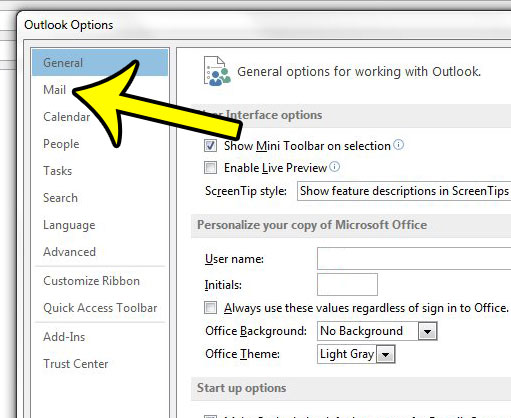
Step 4: Click the Mail tab at the left side of the Outlook Options window.
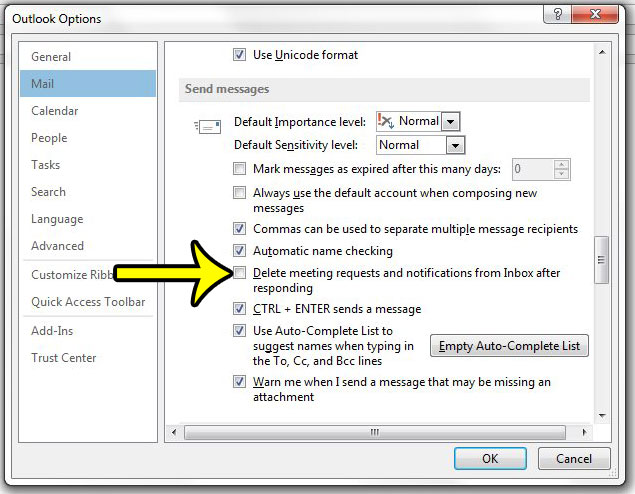
Step 5: Scroll down to the Send messages section of the window, then uncheck the box to the left of Delete meeting requests and notifications from Inbox after responding.
Step 6: Click the OK button at the bottom of the window to apply your changes. Would you like Outlook to download new emails more frequently? Learn how to adjust the send and receive frequency in Outlook so that you are waiting less time to download new email messages that arrive on your email server. He specializes in writing content about iPhones, Android devices, Microsoft Office, and many other popular applications and devices. Read his full bio here.