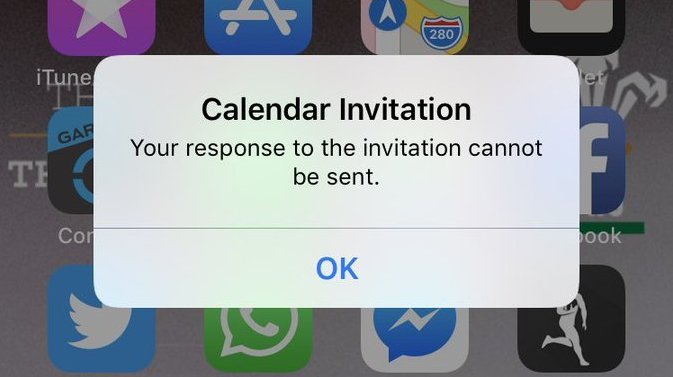
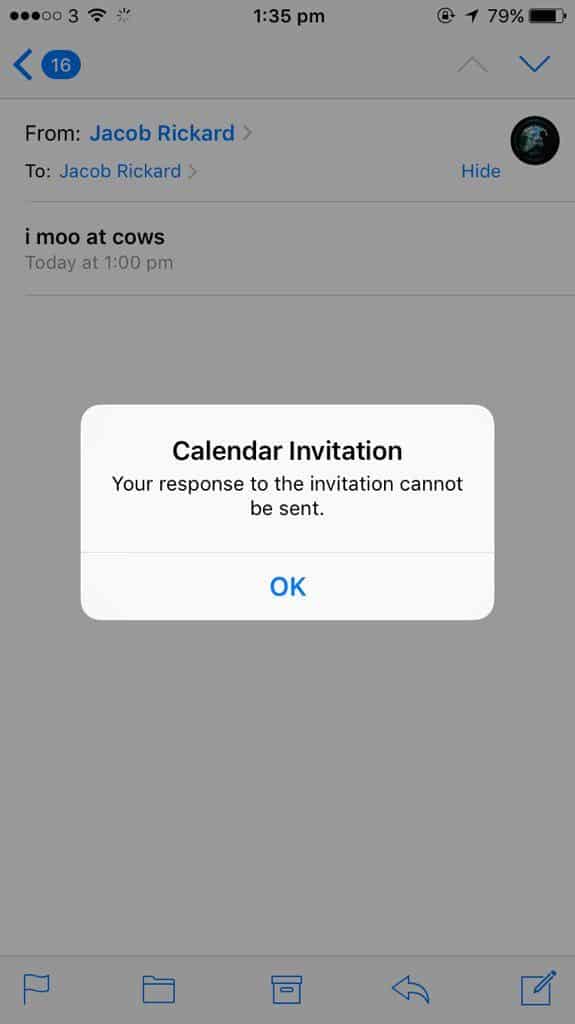
This error has been reported to last for for years and it’s due to a problem with the calendar app. These steps are going to work regardless of which iOS device you have.
Why Does It Say Your Response to the Calendar Invitation Cannot Be Sent?
The reason you’re getting the ‘Calendar information Your response to the invitation cannot be sent’ notification on your iPhone is because you’ve sent a response (accepted or rejected) to a calendar invitation and because of an error, the response cannot be sent, therefore you’ll keep receiving the notification. There could also be an issue between your mail account and the calendar app. If there’s a glitch or bug that’s corrupting the Calendar or Main app, it could cause your response to not be sent to the recipient.
1. Your iPhone Isn’t Up to Date
Your iPhone isn’t up to date. If your iPhone hasn’t been updated for some time, you might be missing some new features and fixes that iPhone has been uploading. This can keep the calendar application from fully working. You can check if you go to your settings to see if there is an update available. It should show at the top where you can see whether you can update or not, and which version is next available.
2. The App Is Out Of Date
The application might be out of date. If it needs to update, usually it’ll show from the front page of your phone. A circle logo will appear over the app image. This will mean that it needs to update. If it’s still not working, check the app store to update the application.
How to Fix Your Response to the Invitation Cannot Be Sent
When people send you an invite to an event, in order for them to know if you’ll be able to attend the invite, it’s polite to either accept or decline the invitation. Either option you choose will alert the person who invited you and they can take the necessary steps moving forward. For some reason whenever you accept or decline the invitation, there’s an error with your iPhone that causes your response to the invention to not send. If your response to the calendar invitation couldn’t send, then there’s no way for the recipient to know whether you’ve declined their message. To fix this problem, you’ll have to get rid of the bug within the Calendar app, Mail app, or your iPhone itself. This bug can be caused for unknown reasons, but in order for your response to calendar invites to be sent, you’ll need to troubleshoot the problem.
1. Turn Calendar Accounts Off/On
If you recently responded to a calendar event, this step should fix your problem. When you respond to a calendar invite with either Accept or Decline, your response will sync with your calendar so you’re aware of any events you have. To troubleshoot any problems with your response not sending, the first thing you need to do is to turn any calendar accounts off then on. This is going to refresh the calendar app which may stop the message from popping up.
- Go to settings
- Click on Calendar
- Click on Accounts.
- Select the account that’s linked with the Calendar. This will either be iCloud or Gmail.
- Select Delete Account.
- Select Delete from My iPhone to confirm. Deleting this account will remove its calendars and contacts from your iPhone.
- Turn your device off then on.
- Go back and turn on the calendar. Once you’ve done this, you can check if the calendar invitation message continues to pop up. This step should have worked but if it doesn’t, go to the next step.
2. Delete the Calendar app then Reinstall
The next thing you need to do is to delete the calendar app and reinstall it again. Although the Calendar is a pre-installed app, you can still delete its cache files. When you delete it, the app is still going to remain there, however, it’s going to remove from the home screen and delete the app’s files. After you’ve deleted it, you need to swipe left and search for the calendar app again. From here on, you’ll be able to reinstall the app. Once you’ve done this, you need to wait for a while to see if the ‘your response to the invitation cannot be sent’ message pops up. You should notice that you don’t see the message anymore.
3. Turn Your iOS Device Off/On
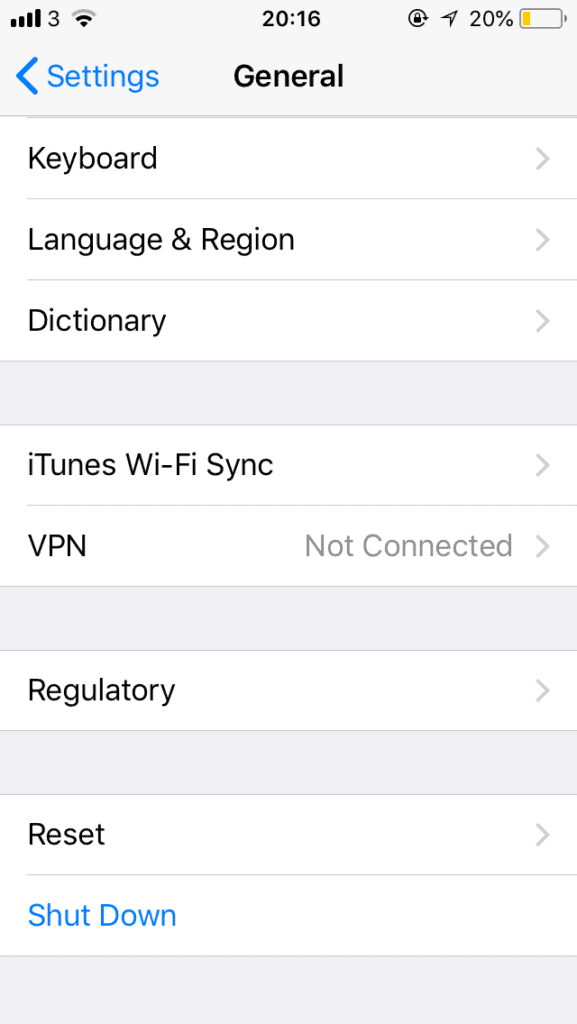
Since the problem is occurring on your iOS device, this may be the root of the problem. There could be a bug on your device that’s stopping your response to the calendar invitation not being sent. The second solution to take if the first one didn’t work is to restart your iPhone or iPad. Restarting your iOS device gives it a fresh start and this can get rid of bugs and glitches that are causing problems. To restart your device, go to settings > click on general > tap shut down. Those are the steps you need to take when you receive the annoying pop-up. After following all of the steps, you should stop receiving the message. If you notice that it keeps popping up, you can try and restore your device from DFU mode. This is a deep troubleshooting step to take but in the majority of cases, it fixes the most troublesome problems.
4. Update iOS to the Latest Version
With old iOS versions come a lot of bugs. If you’re not actively keeping your iPhone or iPad up to date, this can cause glitches and bugs within your device that could cause the error saying your calendar invitation cannot be sent. If you have exhausted all of your options, the next thing you should do is to update your device.
- Back up your device using iCloud.
- Open the Settings > General.
- Tap on Software Update.
- Tap Download and Install.
- Tap Continue or Cancel.
- To update now, tap Install. Once you’ve installed the update, you should check if your response to the calendar invitation could be sent. If not, the problem still exists in your device and you’ll need to find out what it is.
5. Force Close Calendar App
If your calendar invitation still won’t send, then you’ll need to force close the app. When you force close the calendar app, it gets rid of any bugs within that app that could stop your response to the invitation from sending. Sometimes apps can glitch and this can return errors back such as the one you’re seeing now. To force close an app, if you’re on a device with a home button, you’ll need to double click it and swipe the Calendar app off. If you have an iPhone 8 or above, you need to swipe off the bottom of the screen to access the multi-task view, then you need to swipe the calendar app off. From here, you can check if your calendar invite is able to send.
6. Check Your Internet Connection
Check your internet connection and make sure it’s properly connected. Multiple factors could be affecting your internet connection such as location and the materials around you. For example, being in an elevator could greatly affect your connection since you are inside of a metal container.
7. Force Restart iPhone
You might want to try force restarting the iPhone to get it refreshed and working. To enable restart, you might have to enable some features to make sure your iPhone can be refreshed. Here is the instructions to refresh and iPhone X and newer iPhones;
- Open your iPhone.
- Go to your Settings, find Accessibility and go to Touch.
- Tap the AssistiveTouch and then move the AssistiveTouch slider to on/green.
- An onscreen Home button is added to your screen. Tap it to reveal the options. Find the Home options, this is where you’ll find the way to add the restart button. Now the steps to turn on Assistive Touch on an iPhone.
- Go to your Settings and go to General and then Shut Down.
- On the shut-down screen, tap the onscreen Home button.
- In the pop-up, tap down and hold Home. Using the Assistive Touch feature to shutdown an iPhone.
- When your iPhone returns to your home screen, let your thumb let go of the screen.
- If you use a passcode on your iPhone, you’ll go to the passcode-entry screen and enter it. Your iPhone is now refreshed.
8. Reset All Settings
You may want to reset all your settings to clear out any settings that may be disabling your calendar app from working the way it should be working. Go to Settings, find the General tab and then use Transfer or Reset iPhone to eventually Reset. There are multiple options when it comes to resetting;
- You can Erase All Content and Settings, which will get rid of all contents and erase your iPhone.
- Reset All Settings: All settings—which includes network settings, the keyboard dictionary, location settings, privacy settings, and Apple Pay cards—are removed or reset to their defaults. No data or media will be deleted.
- Reset Network Settings: All network settings are removed. In addition, the device name assigned in Settings > General > About will be reset to “iPhone,” and manually trusted certificates are changed to untrusted. Cellular data may also be turned off. Keep in mind that when you reset network settings, previously used networks and VPN settings that weren’t uninstalled. Wi-Fi will be turned off and then back on.
- Reset Keyboard Dictionary: You add words to the keyboard dictionary by rejecting words iPhone suggests as you type. Resetting the keyboard dictionary erases only the words you’ve added.
- Reset Home Screen Layout: Returns the built-in apps to their original layout on the Home Screen.
- Reset Location & Privacy: Resets the location services and privacy settings to their defaults.
9. DFU Restore
To DFU restore a phone most people say you have to turn it off, but you don’t. DFU stands for Device Firmware Update, and it’s the most effective and deep type of restore you can do on an iPhone. On your device, you have to press and release the volume up button on the side, then quickly press and release the volume down button, and then press and hold the side button until the screen goes completely dark. As soon as the screen turns black, press and hold the volume down button while continuing to hold the side button. After 5 seconds, release the side button while continuing to hold the volume down button until your iPhone shows up in your iTunes or Finder. As soon as it appears in iTunes or Finder, release the volume button. Your iPhone is now in DFU mode and it will alert you how much time it needs.
10. Factory Reset
A hard factory reset will erase all content from your iPhone. You will have to completely start over.
- You can go to Settings, and then General and you will find either Transfer or Reset iPhone.
- From here, tap Erase All Content and Settings.
11. Contact Apple Support
The final alternative may be to contact apple support to get a professional opinion on what you should do. Apple has an online help desk which provides both articles and live support from their headquarters. You can find the Apple support site at Apple Support.


